GameSentenceMiner on Steam Deck
GameSentenceMiner runs natively on the Steam Deck! Because the Steam Deck is essentially a Linux PC, you can run the full GSM experience directly on the handheld. Alternatively, for better battery life and performance, you can stream your desktop PC to the Deck.
My personal recommendation on Steam Deck is to use streaming for the best experience and feature completion in GSM. This is especially true for playing high-end games or Visual Novels that require Windows-only tools.
- Native Steam Deck
- Streaming from PC
Native Setup
Running GSM natively allows you to mine sentences anywhere, even without an internet connection. This guide focuses on using the Steam Deck's Desktop Mode to set everything up.
These instructions are on a completely fresh Steam Deck install, if you run into any issues, please open an issue on the GitHub repository, or join the GSM Discord.
Using GSM in Game mode is not currently supported due to system limitations. As long as GSM uses OBS for capture, it will likely not be supported without some major rewrite. If you want to use GSM in Gaming Mode, please consider streaming from a PC instead.
1. Prerequisites
Switch to Desktop Mode
- Press the Steam button.
- Go to Power > Switch to Desktop.
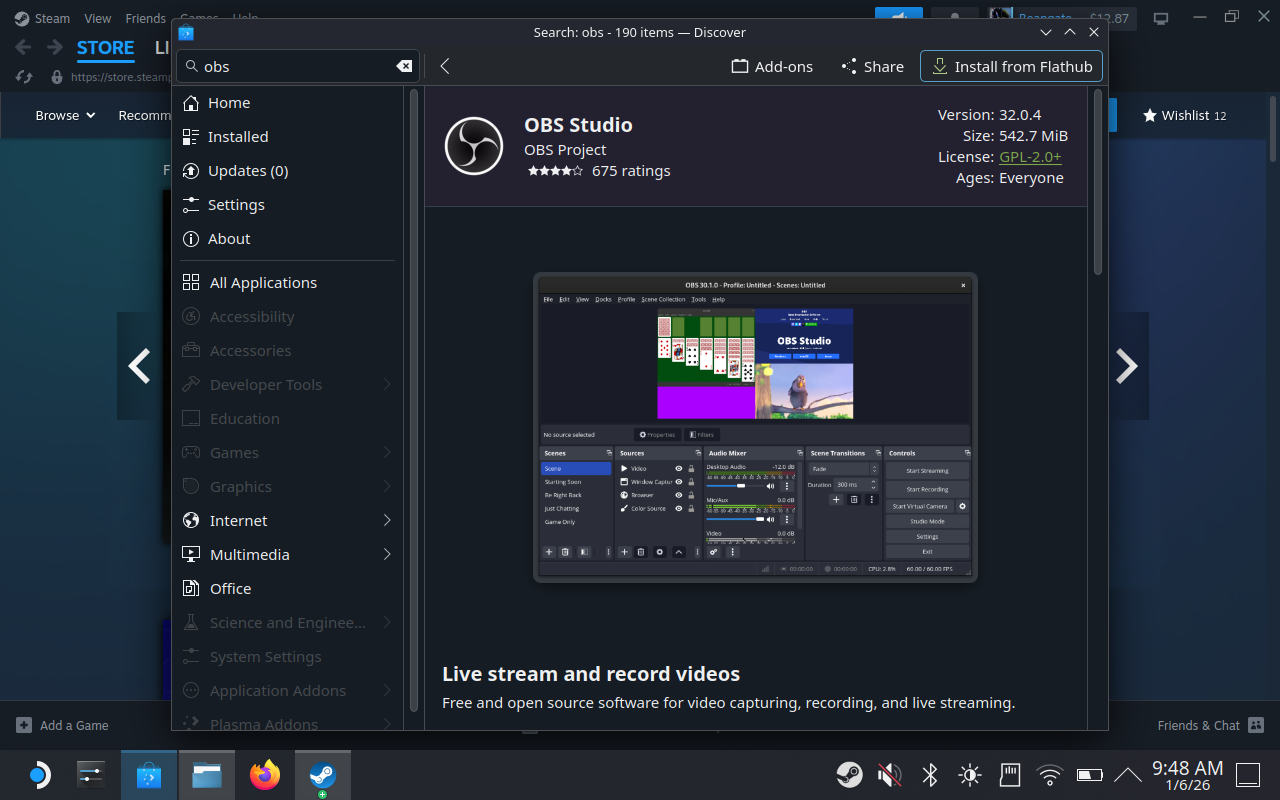
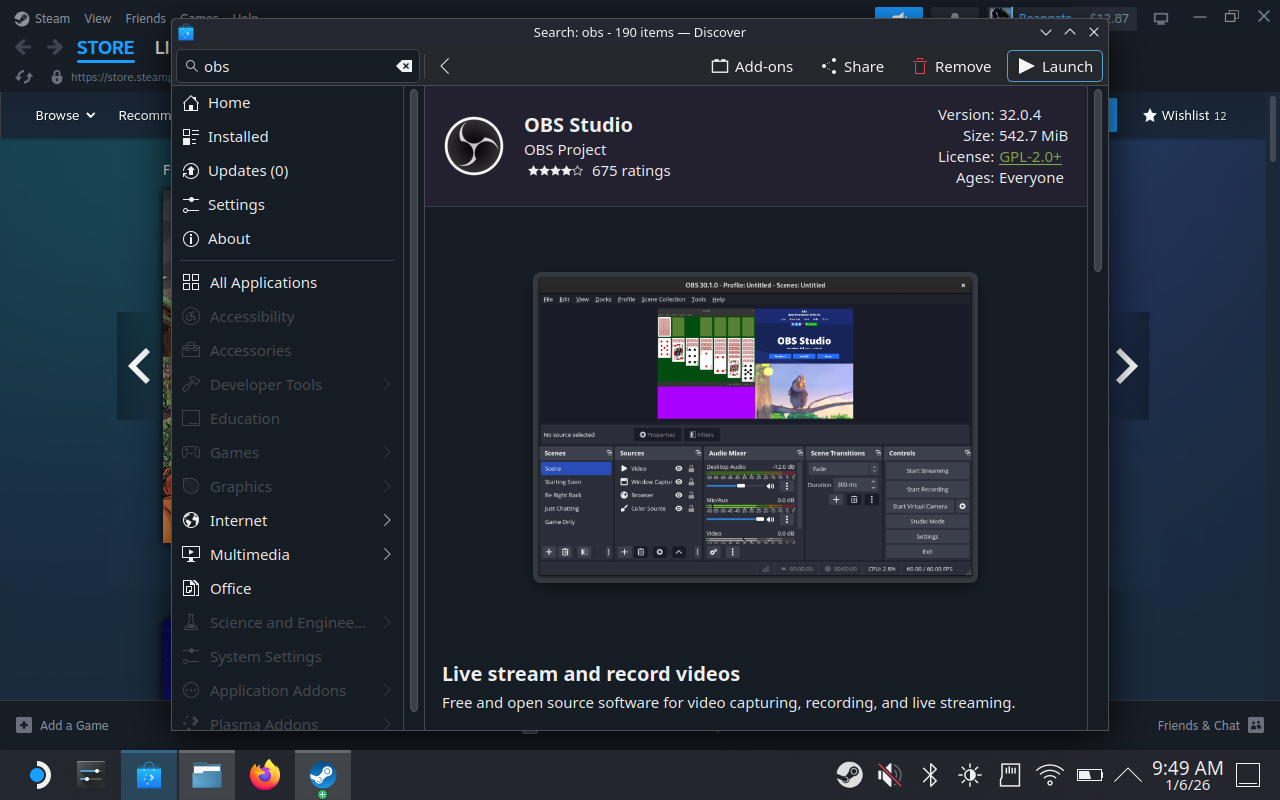
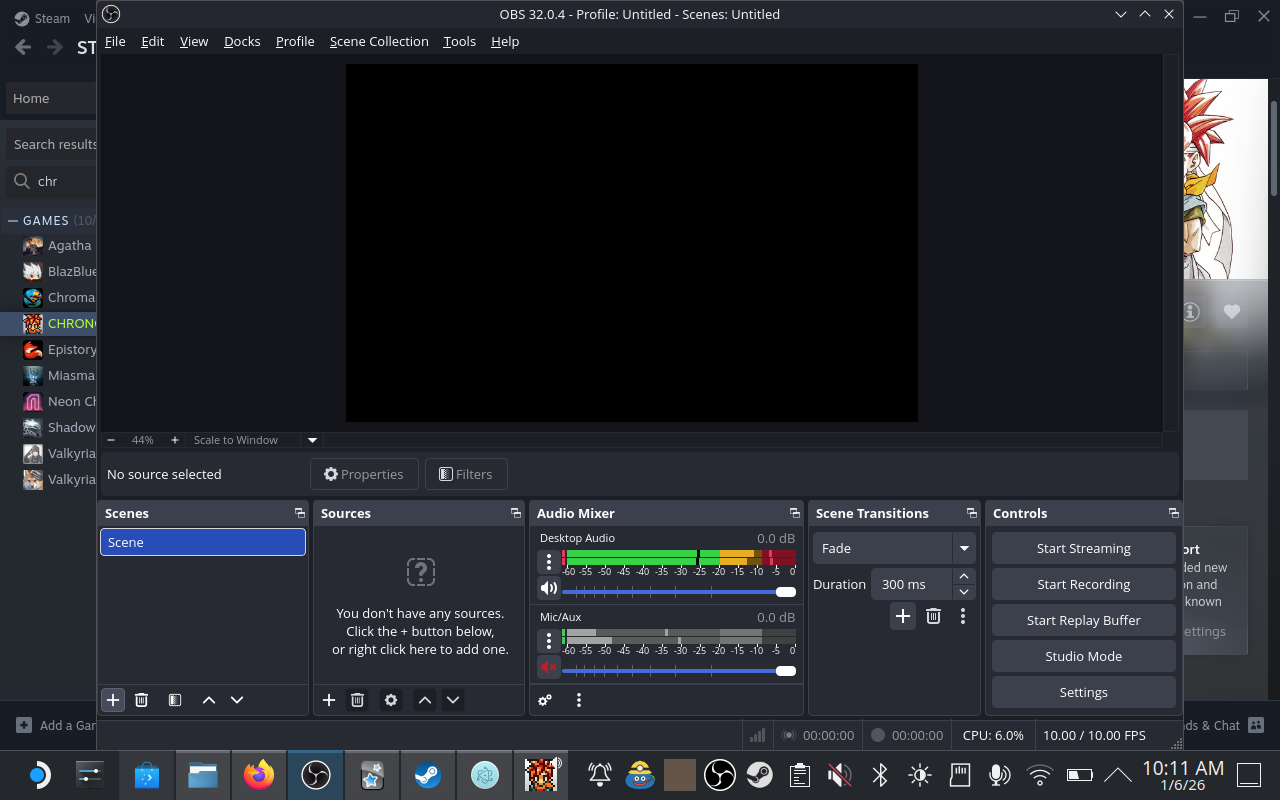
Install OBS Studio
GSM needs OBS Studio to capture the game screen for OCR.
- Open the Discover store (shopping bag icon on the taskbar).
- Search for "OBS Studio".
- Install the Flatpak version.
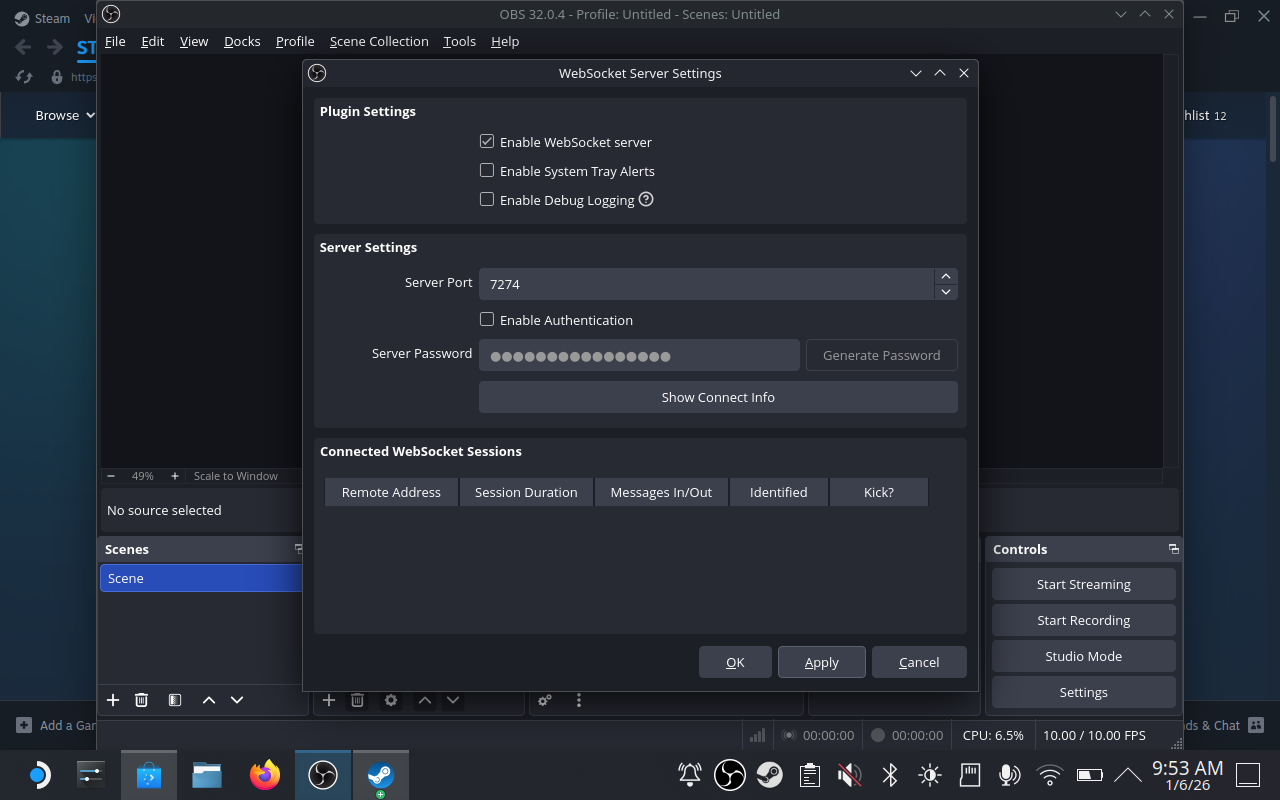
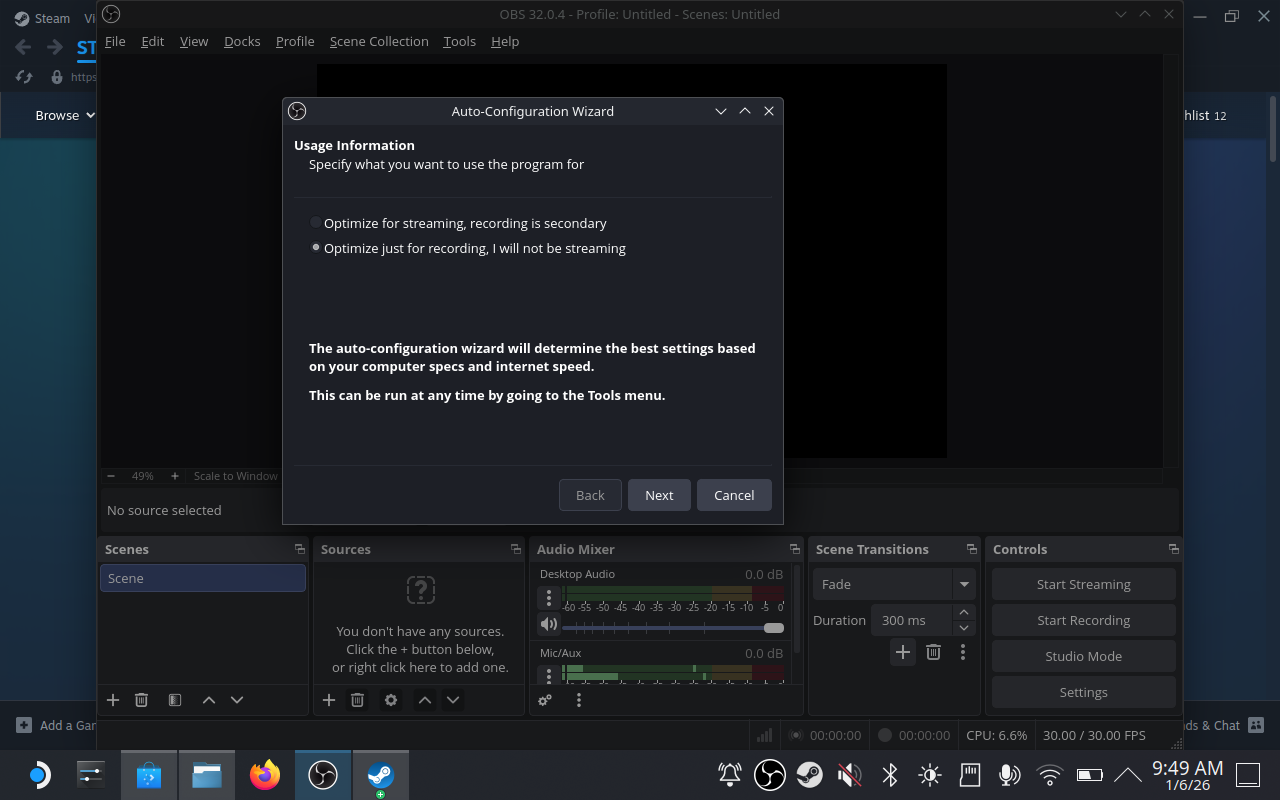
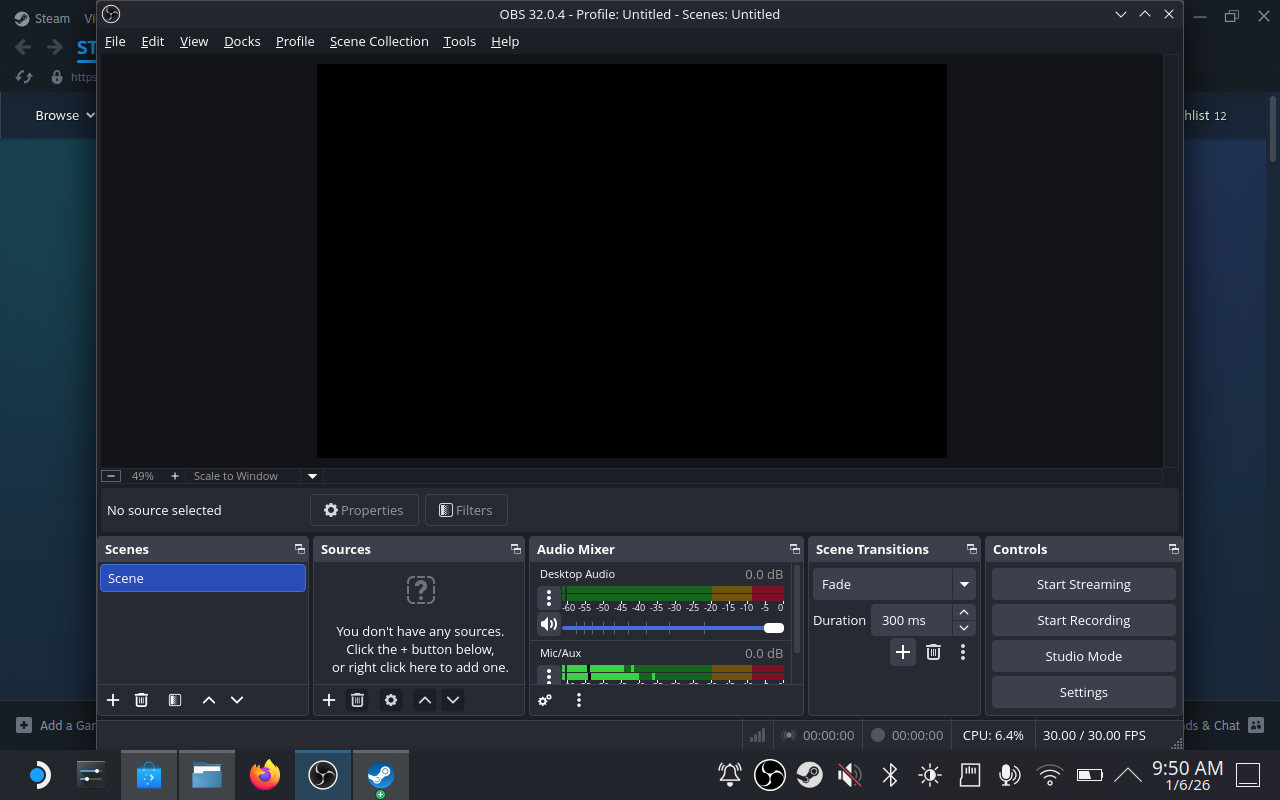
Enable OBS WebSocket Server
- In OBS, go to Tools > WebSocket Server Settings.
- Check Enable WebSocket Server.
- Uncheck Enable Authentication (GSM works best without it on Deck).
- OR copy the password generated for you, and paste it in OBS Settings in GSM Later.
- Set Server Port to
7274.
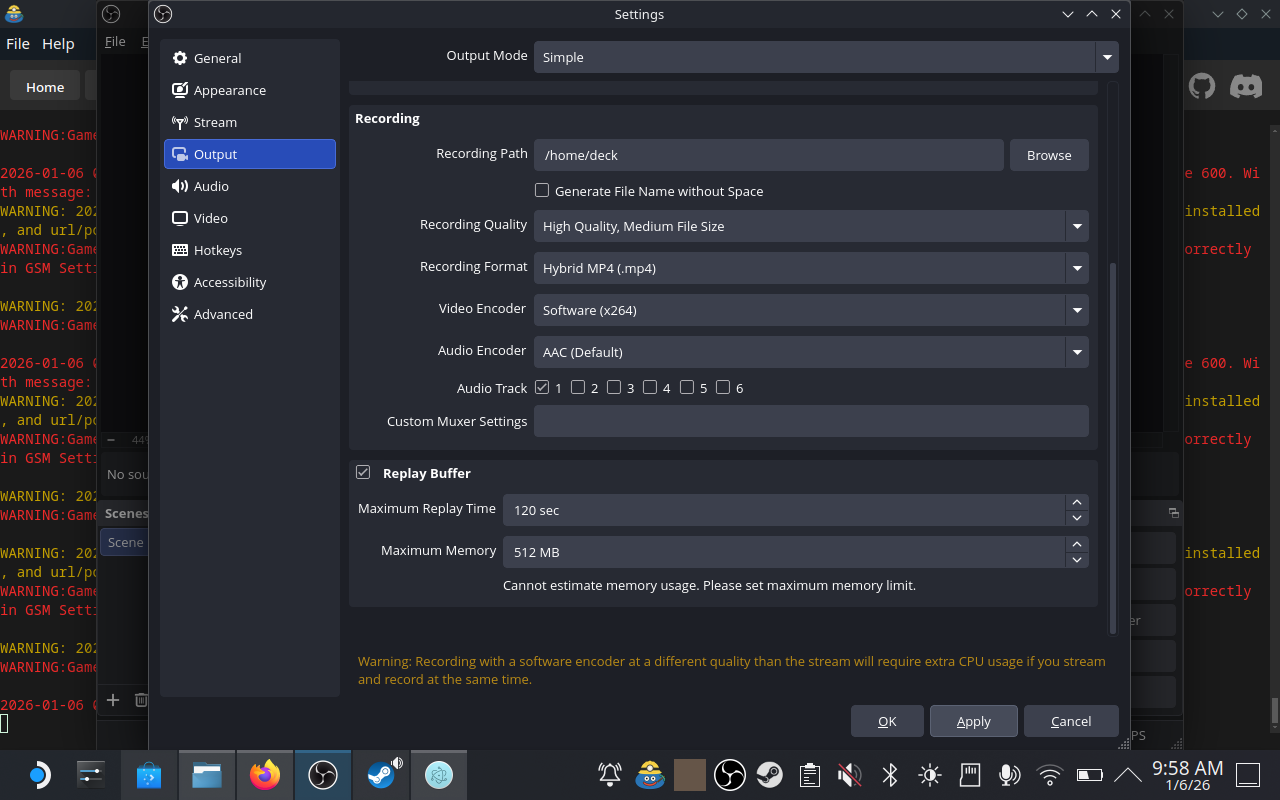
Enable Replay Buffer
- Go to Settings > Output > Replay Buffer.
- Check Enable Replay Buffer.
- Set Maximum Replay Time to
120(or higher) seconds.
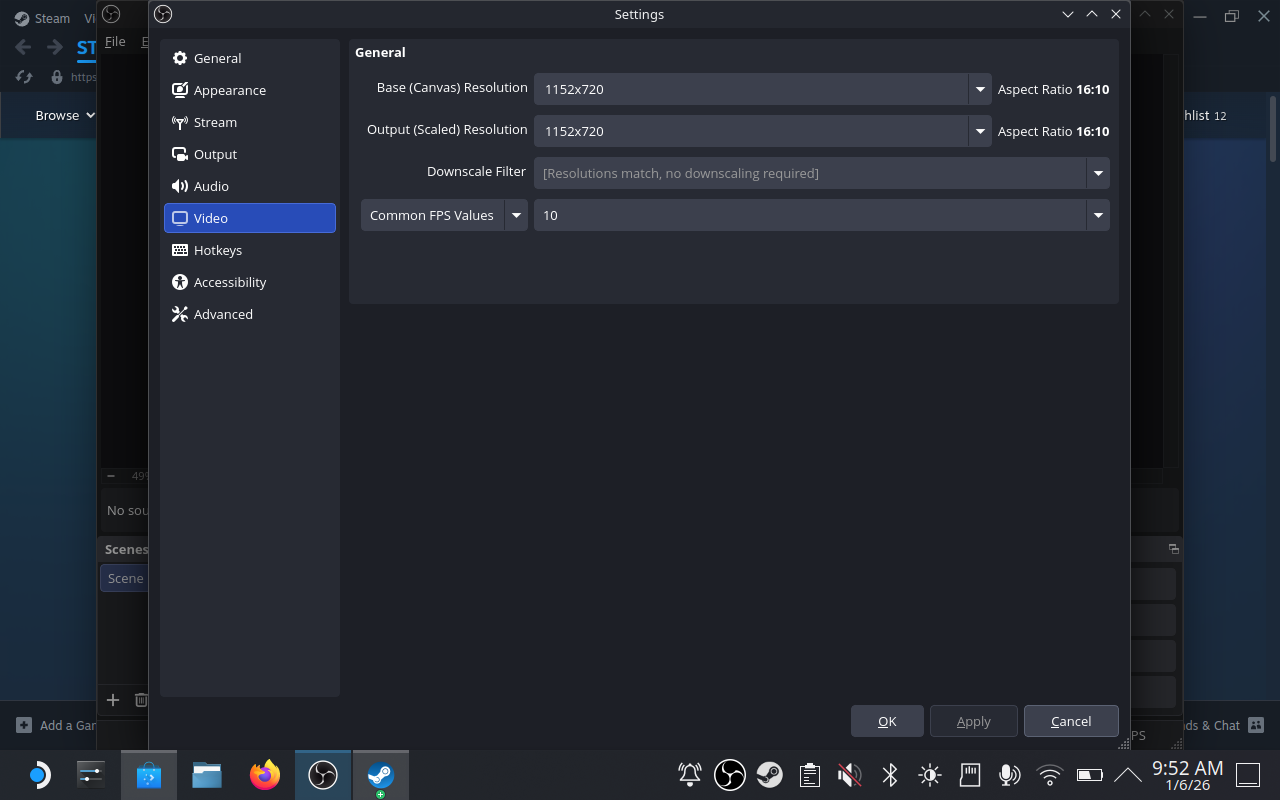
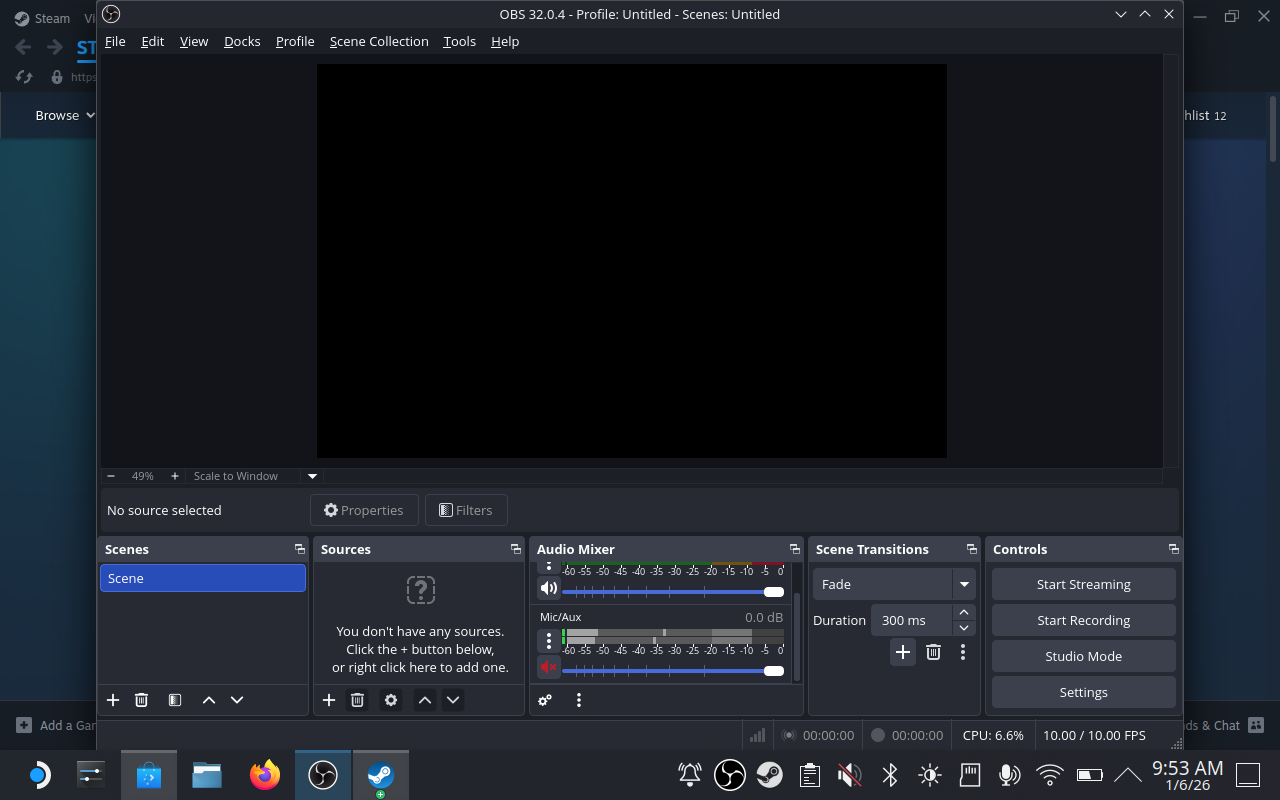
Save Resources
- Set FPS to
10in Settings > Video to save resources.
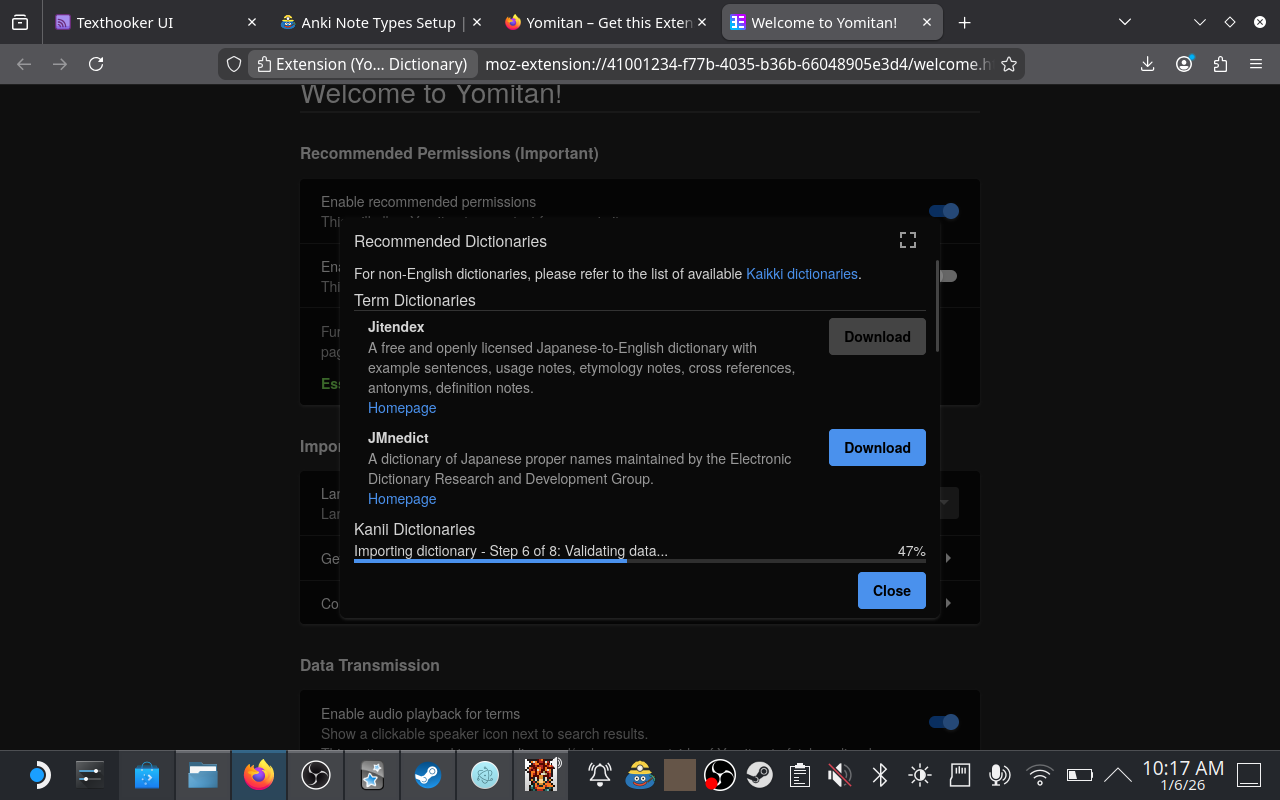
Install Anki
The Flatpak version of Anki on the Discover store can sometimes have issues with add-ons or permissions (I'm not sure if this is true tbh). I just used the official Linux build.
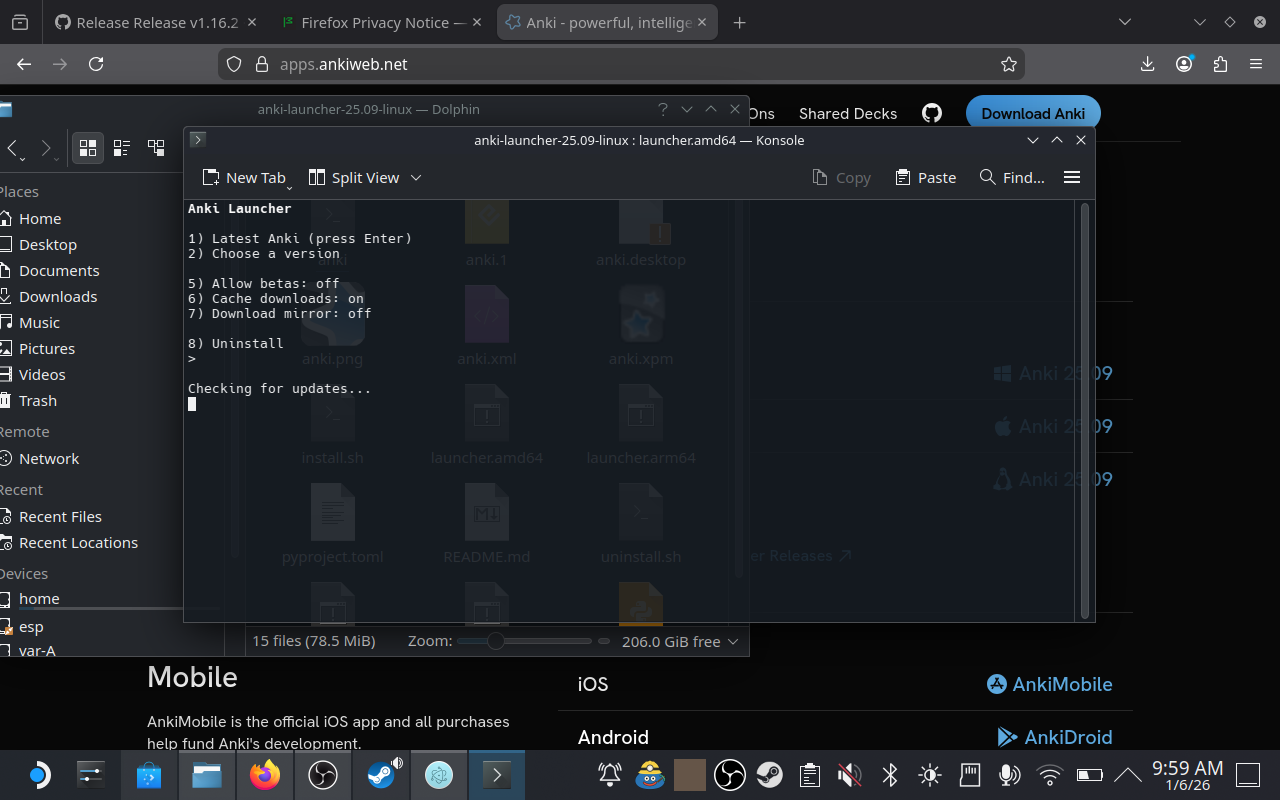
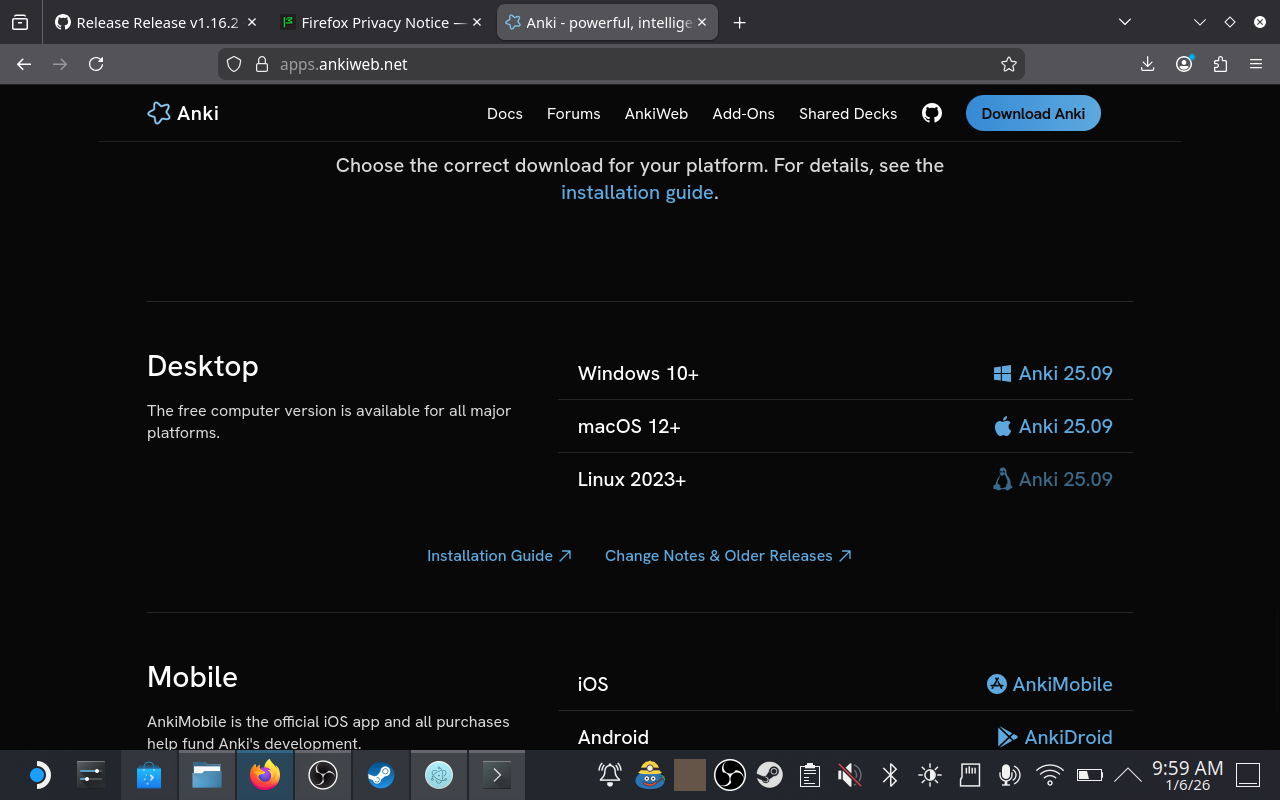
- Go to the official Anki website.
- Download the Linux version (Download Anki for Linux -> Download .tar.zst).
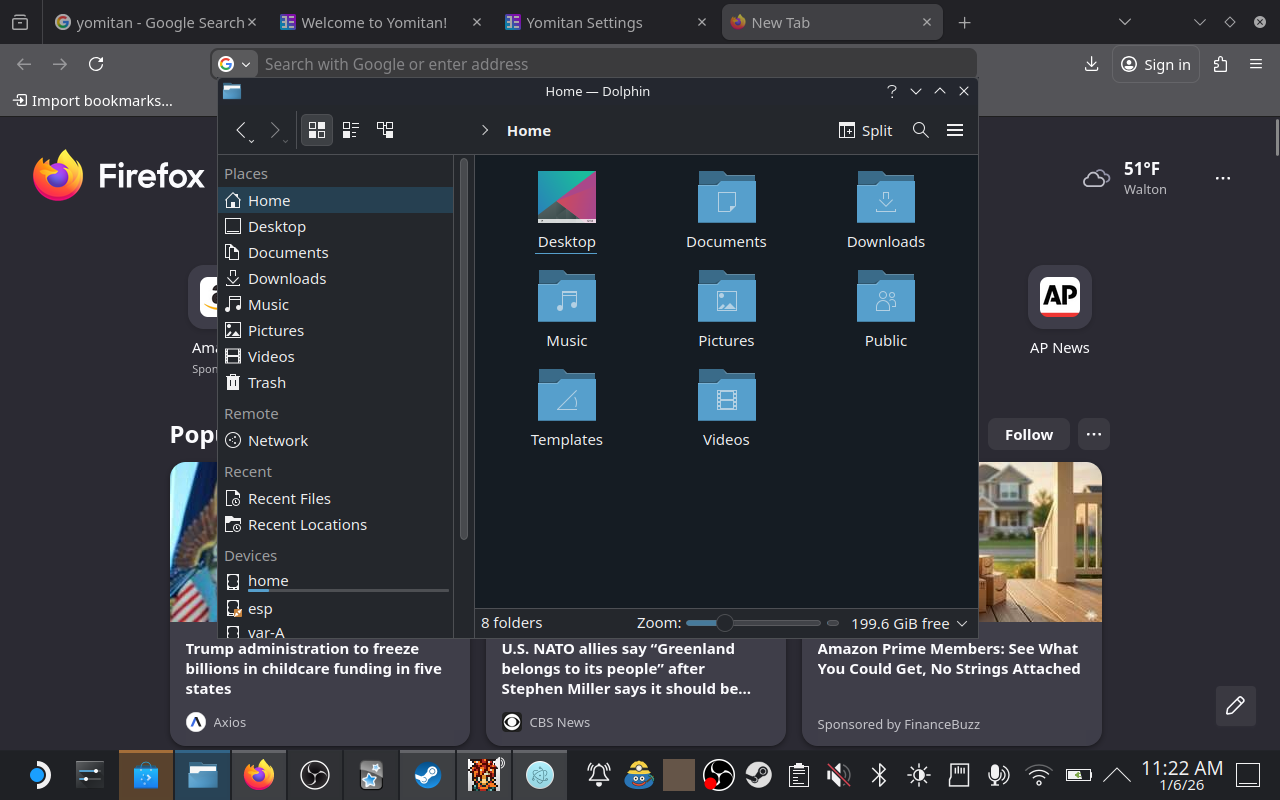
- Open your file manager (Dolphin), find the downloaded file, right-click it and choose Extract > Extract archive here.
- Open the extracted folder.
- Double click "Anki.sh" to install and run Anki.
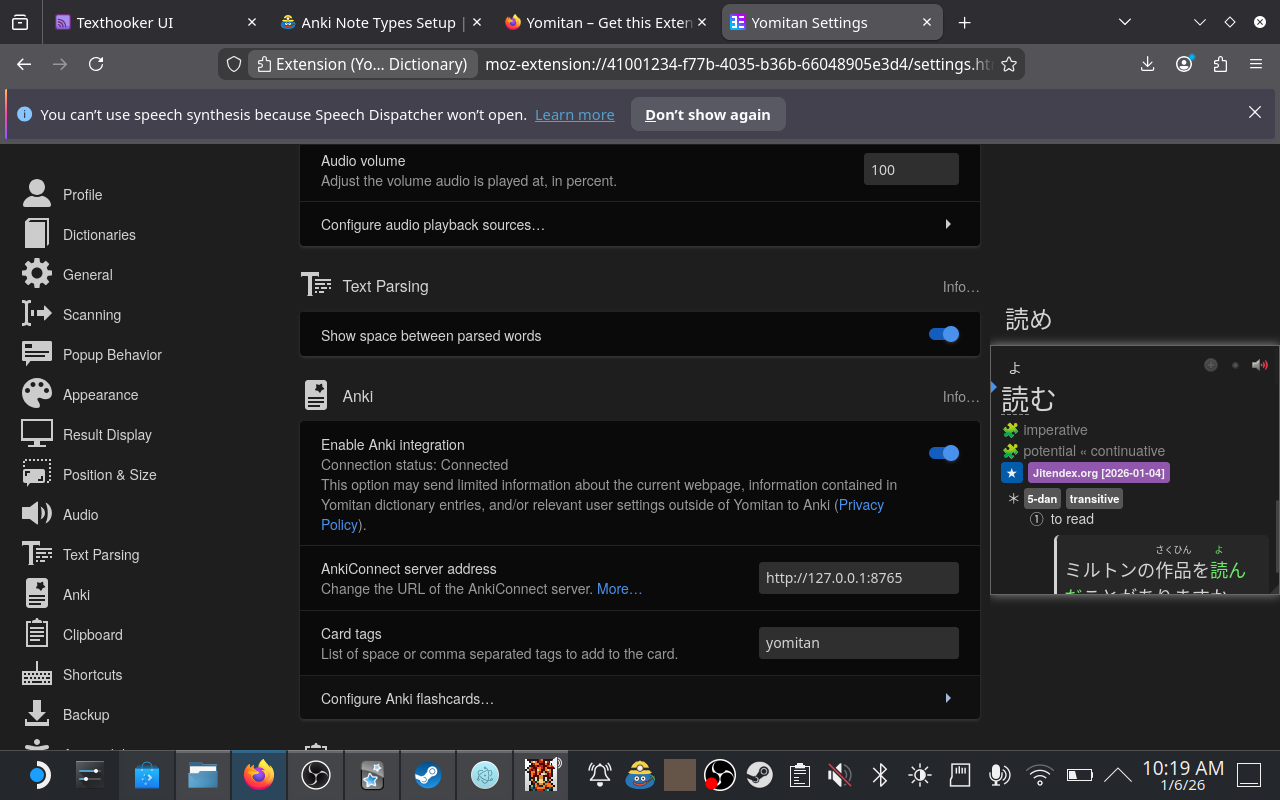
Configure Anki
- Open Anki.
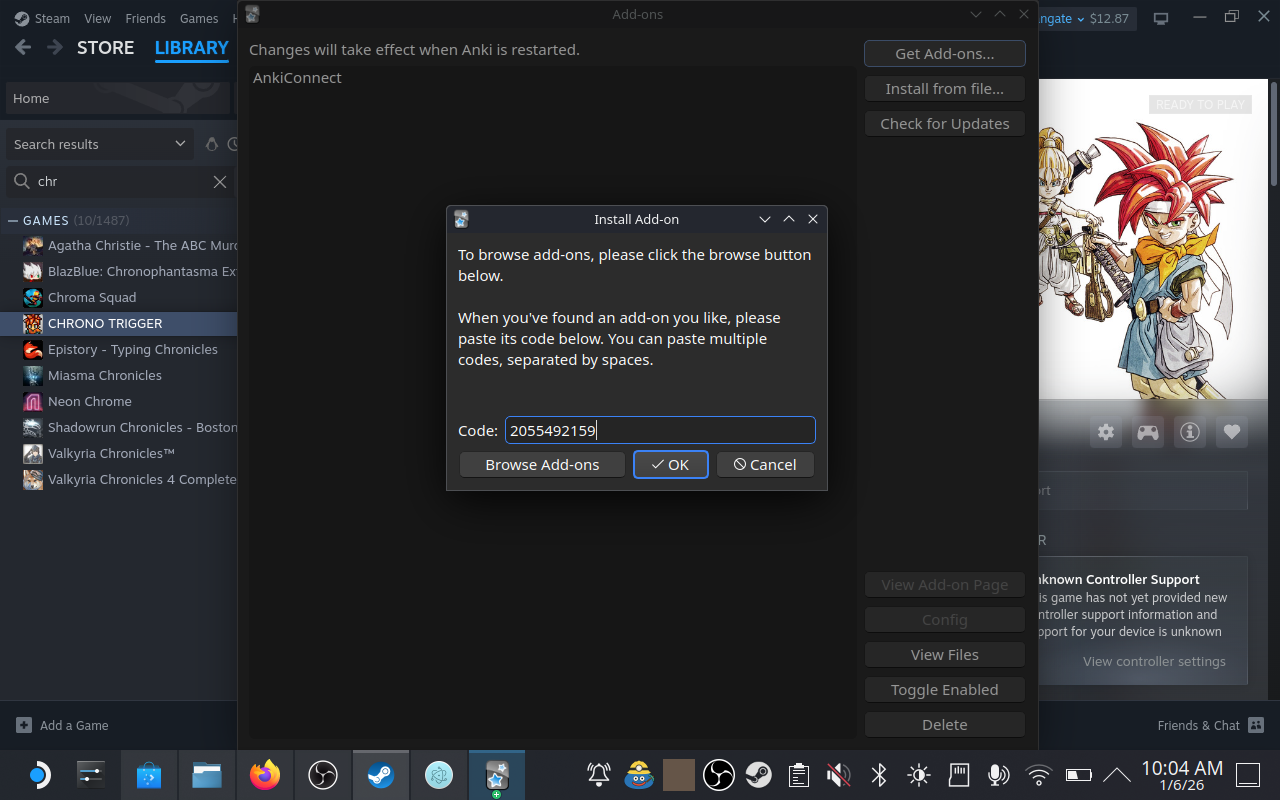
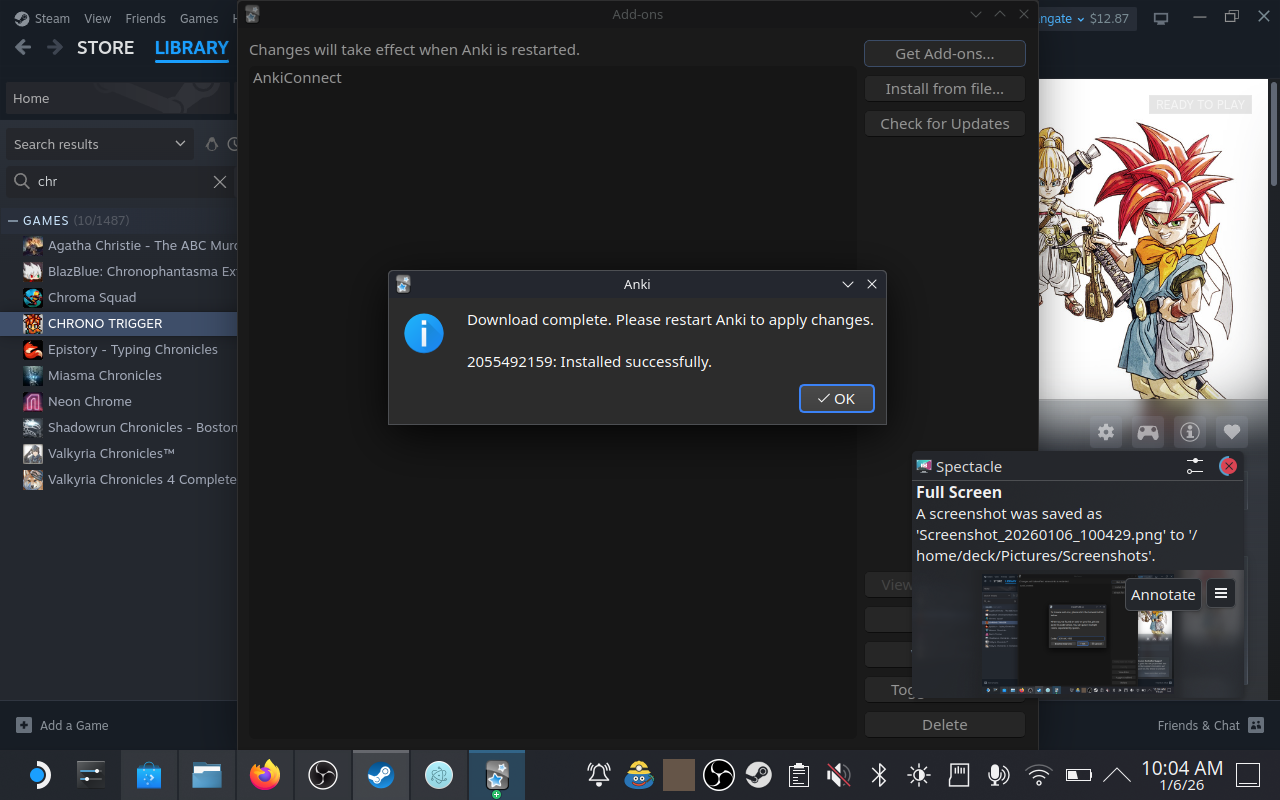
- Go to Tools > Add-ons > Get Add-ons....
- Enter code
2055492159to install AnkiConnect. - Restart Anki.
2. Install GameSentenceMiner
We use the AppImage version for Steam Deck.
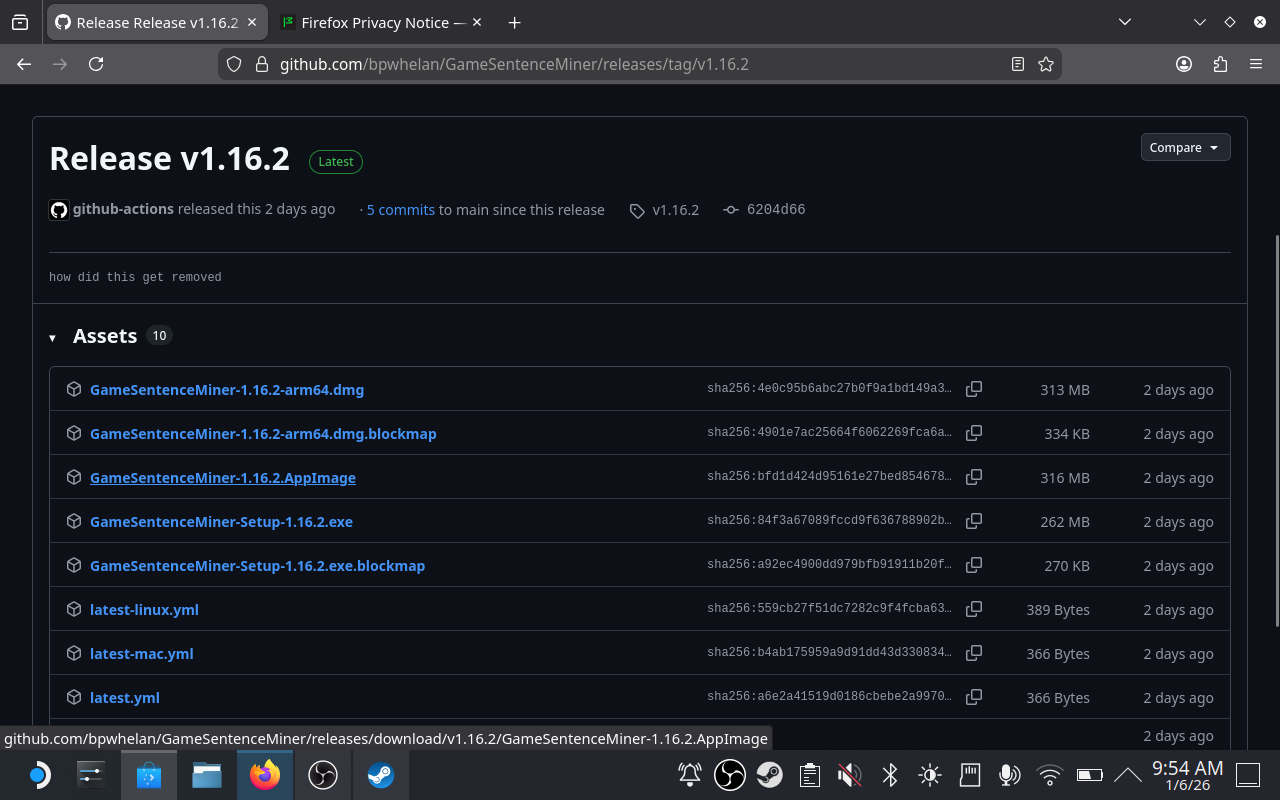
- Go to the latest GSM release.
- Download the
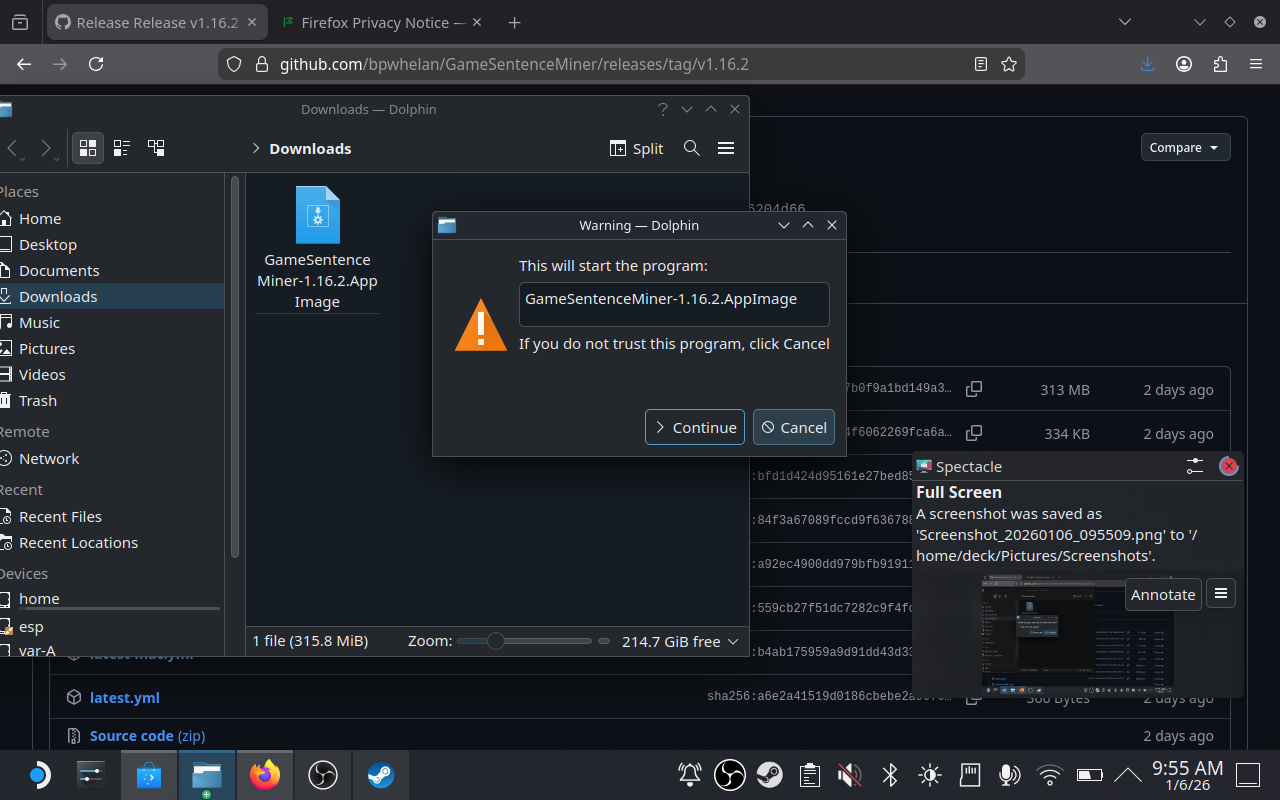
.AppImagefile. - Double Click the downloaded file to run it. If it doesn't run:
- Right-click the file, go to Properties > Permissions tab.
- Check Is executable.
- Close and double-click the file again.
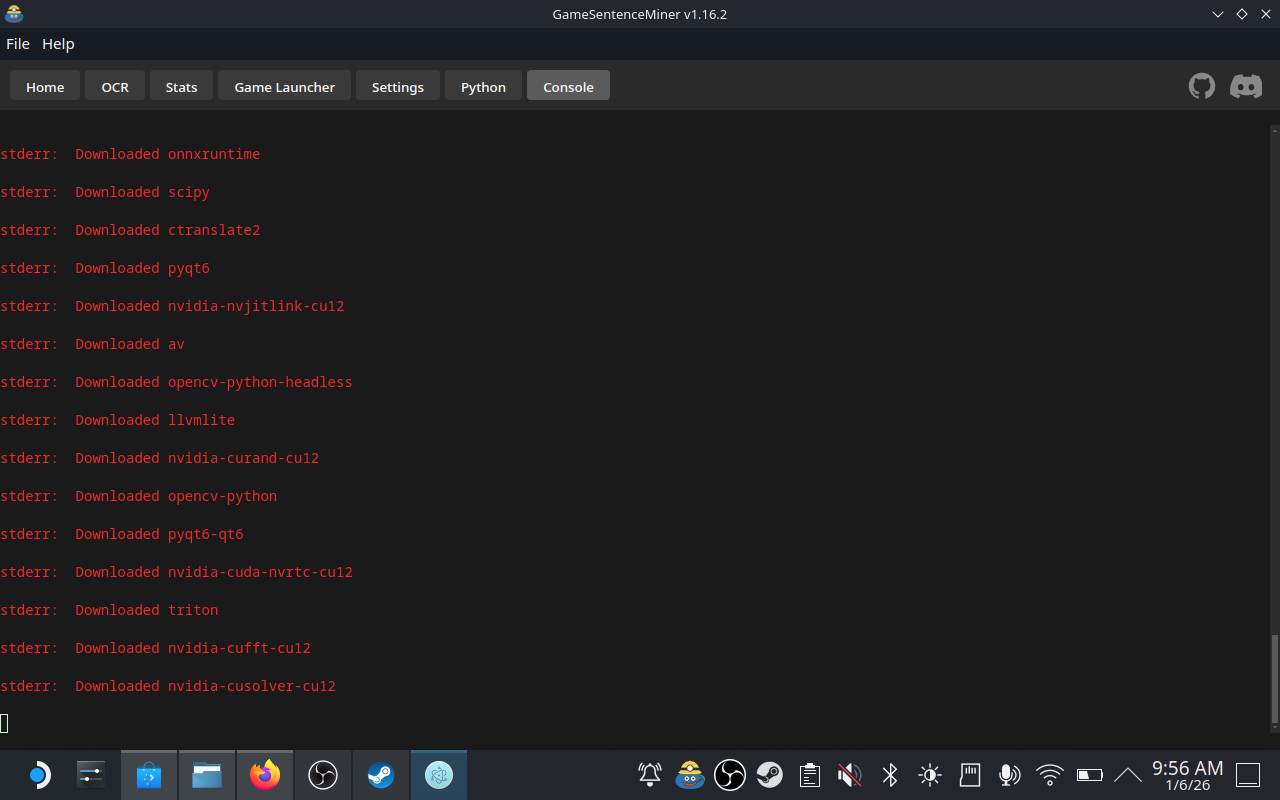
On the first launch, GSM will set up its internal environment. This might take a few minutes, depending on internet speed, this can probably be improved in future releases.
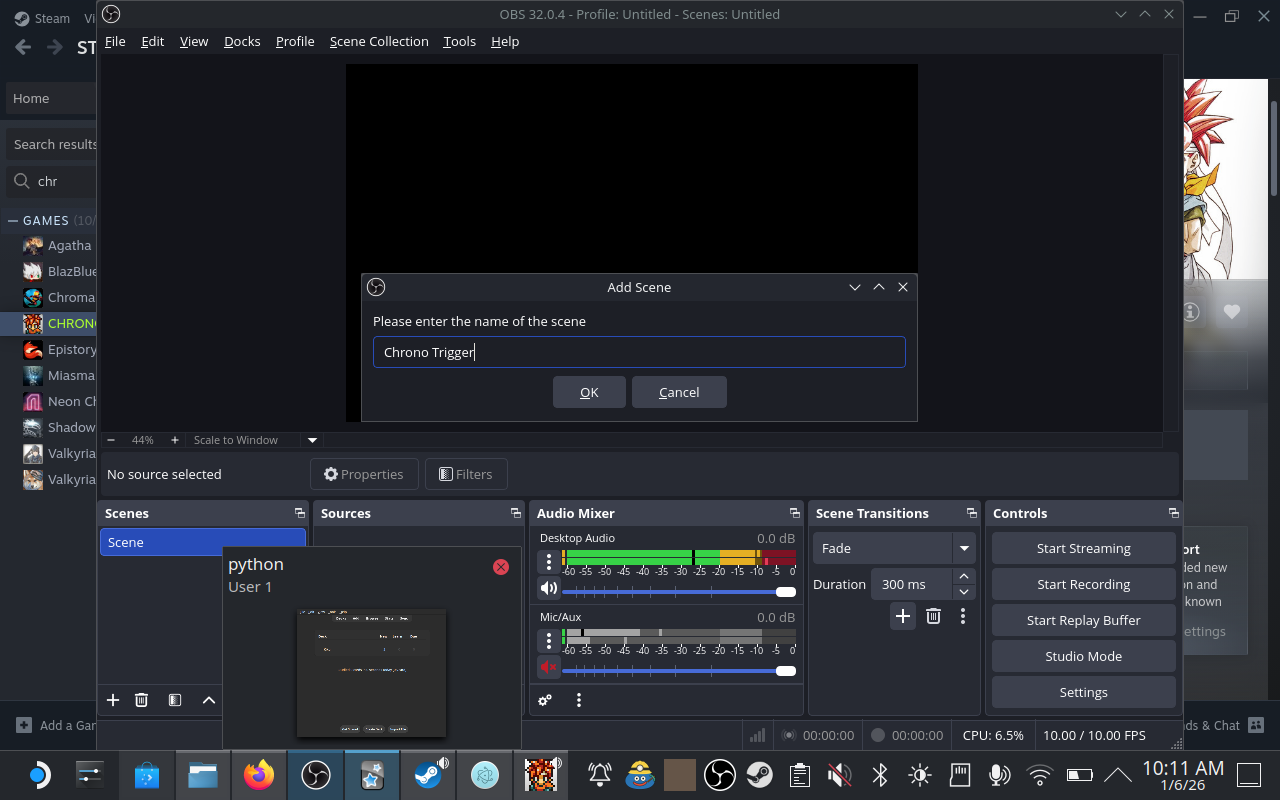
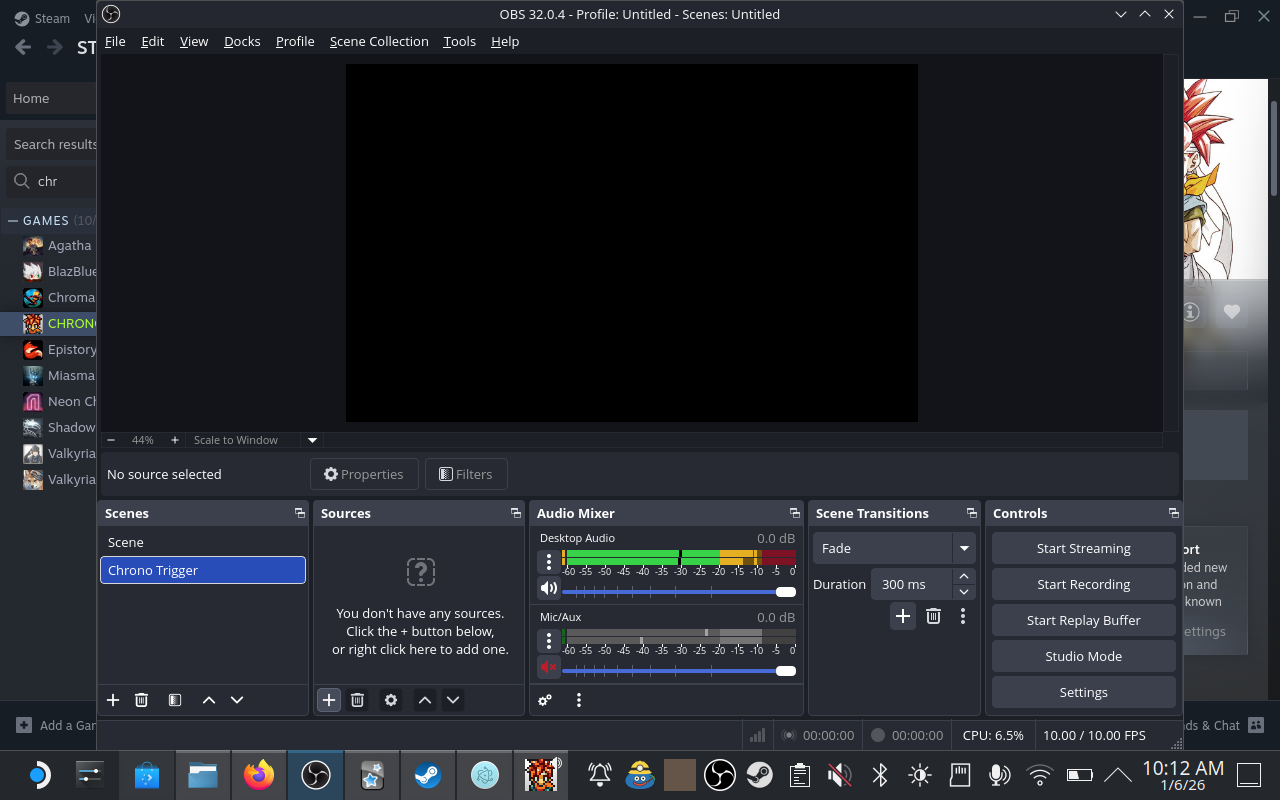
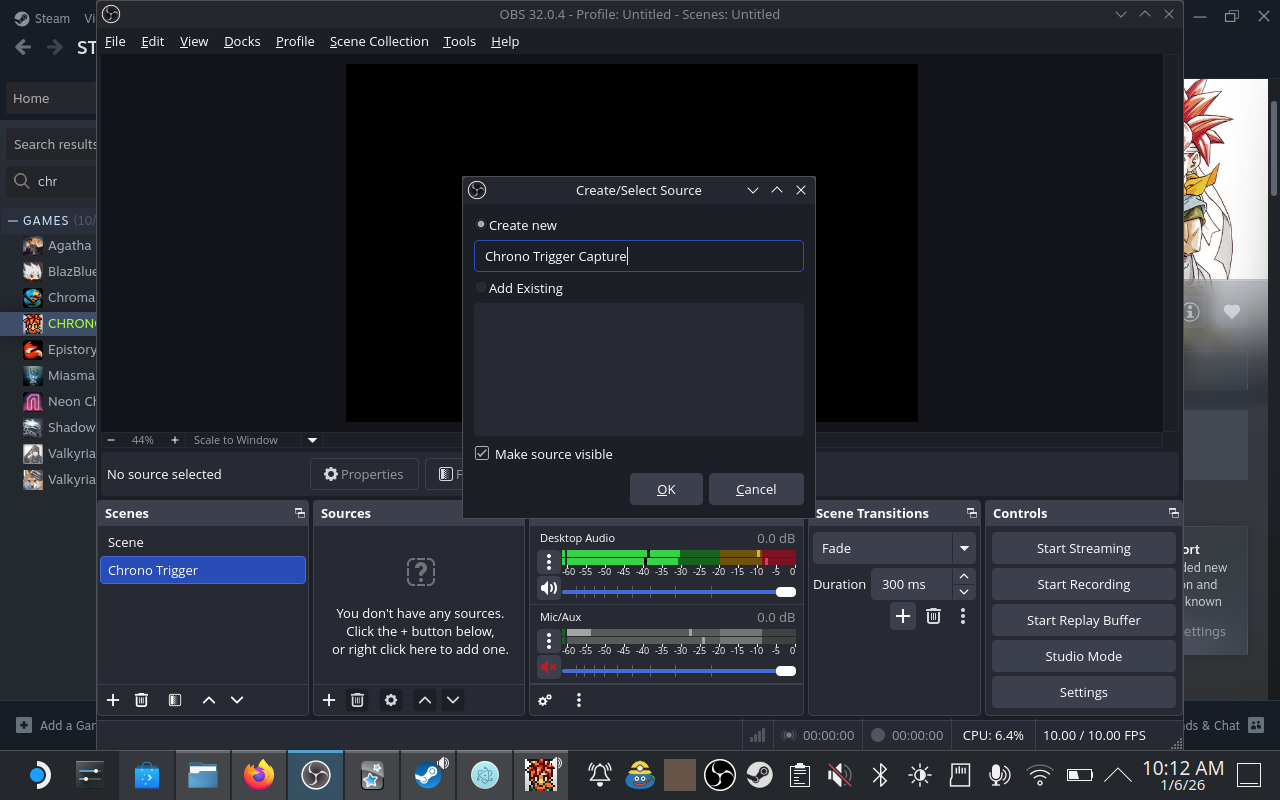
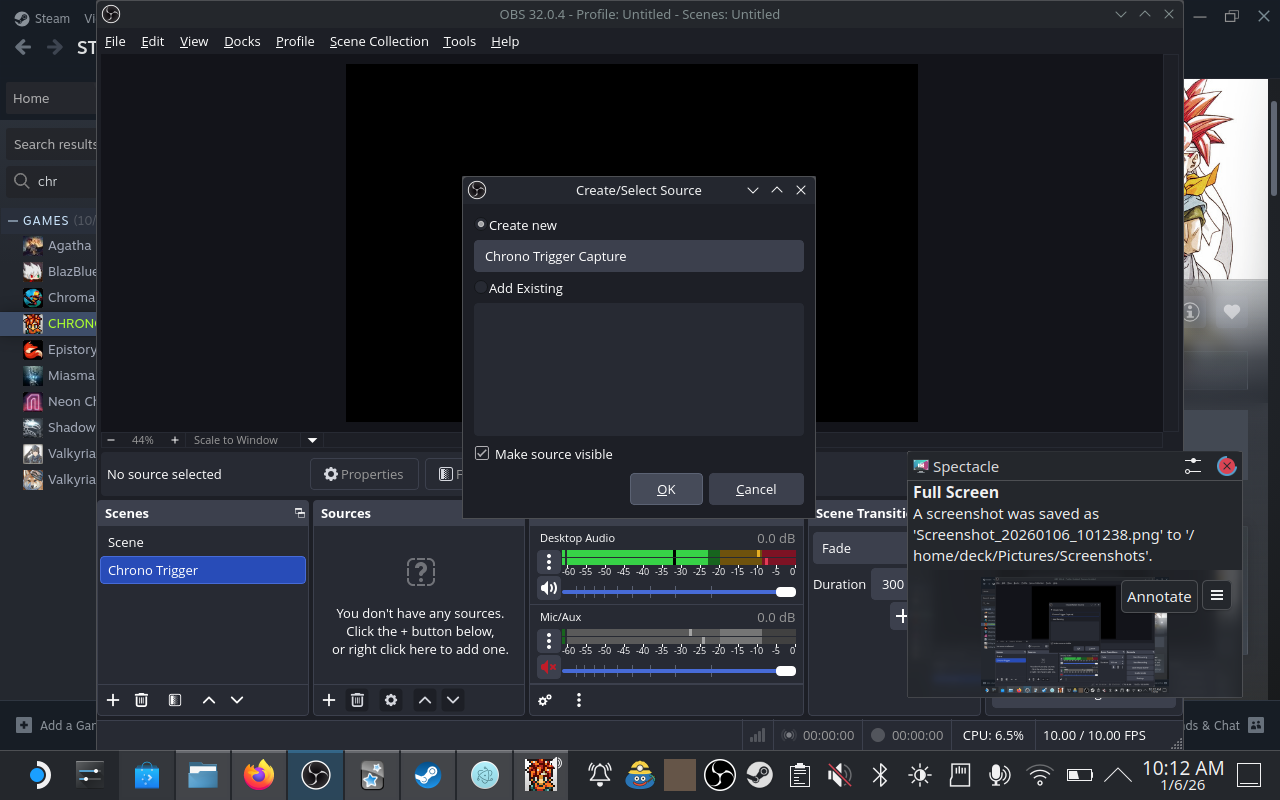
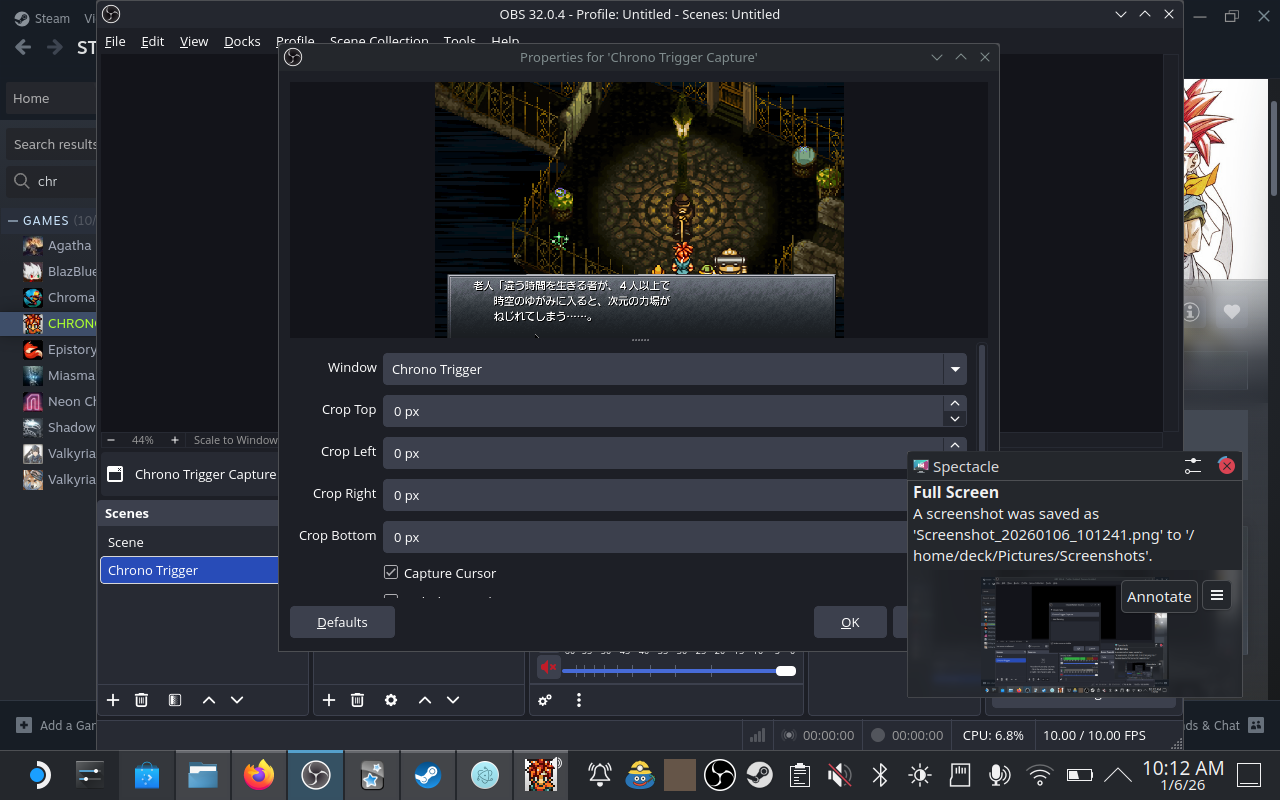
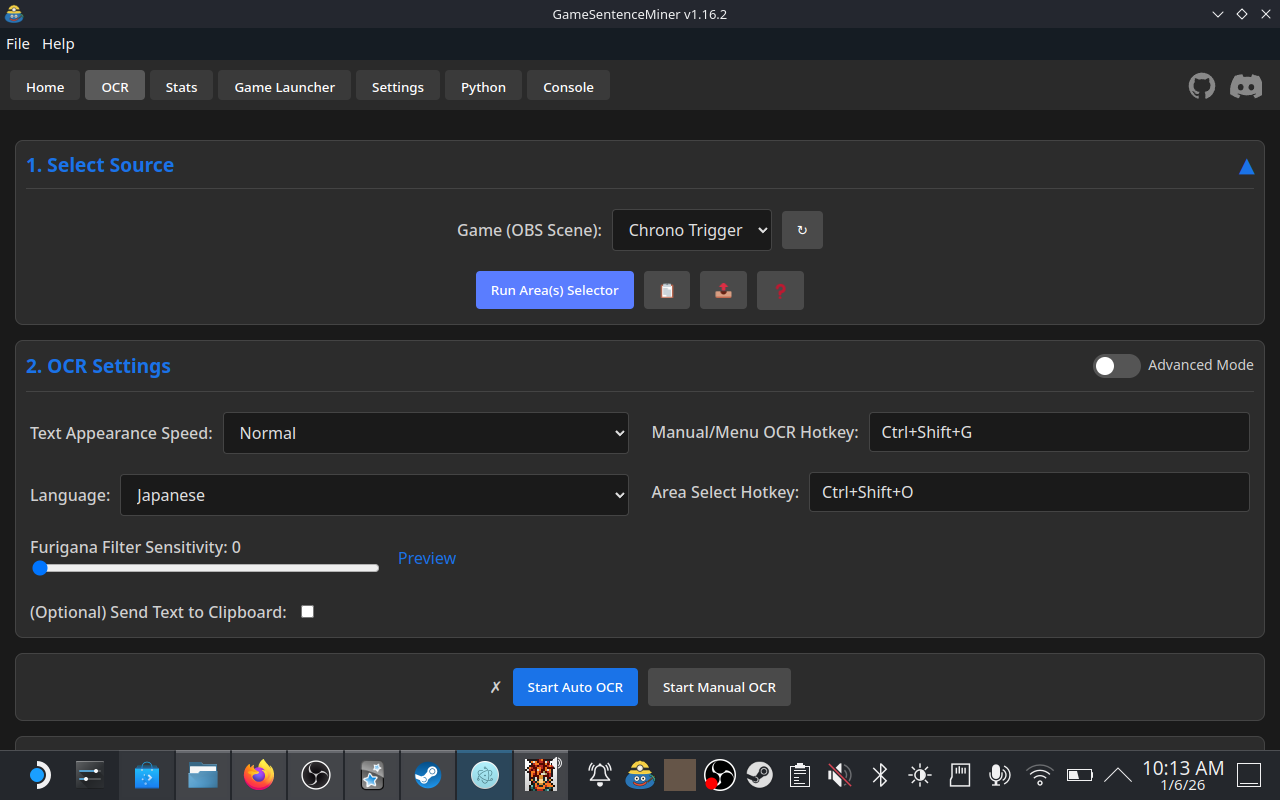
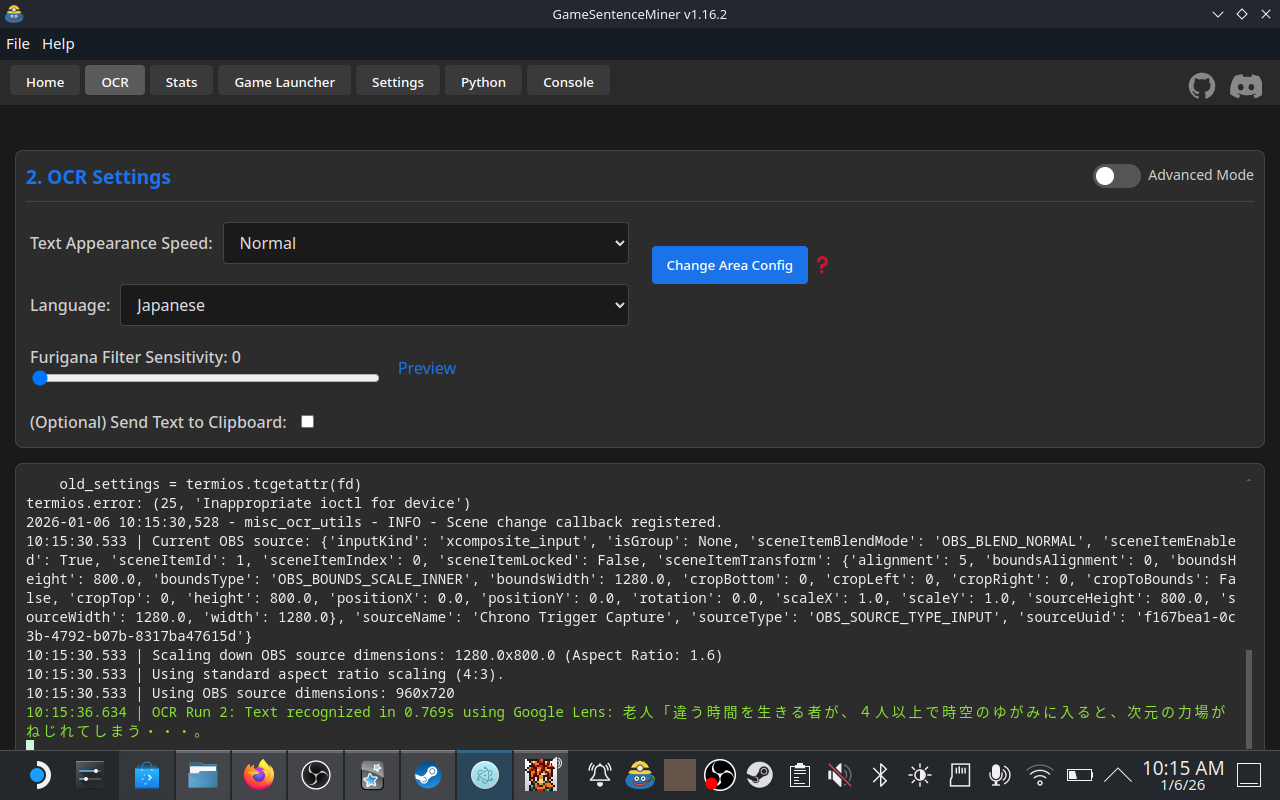
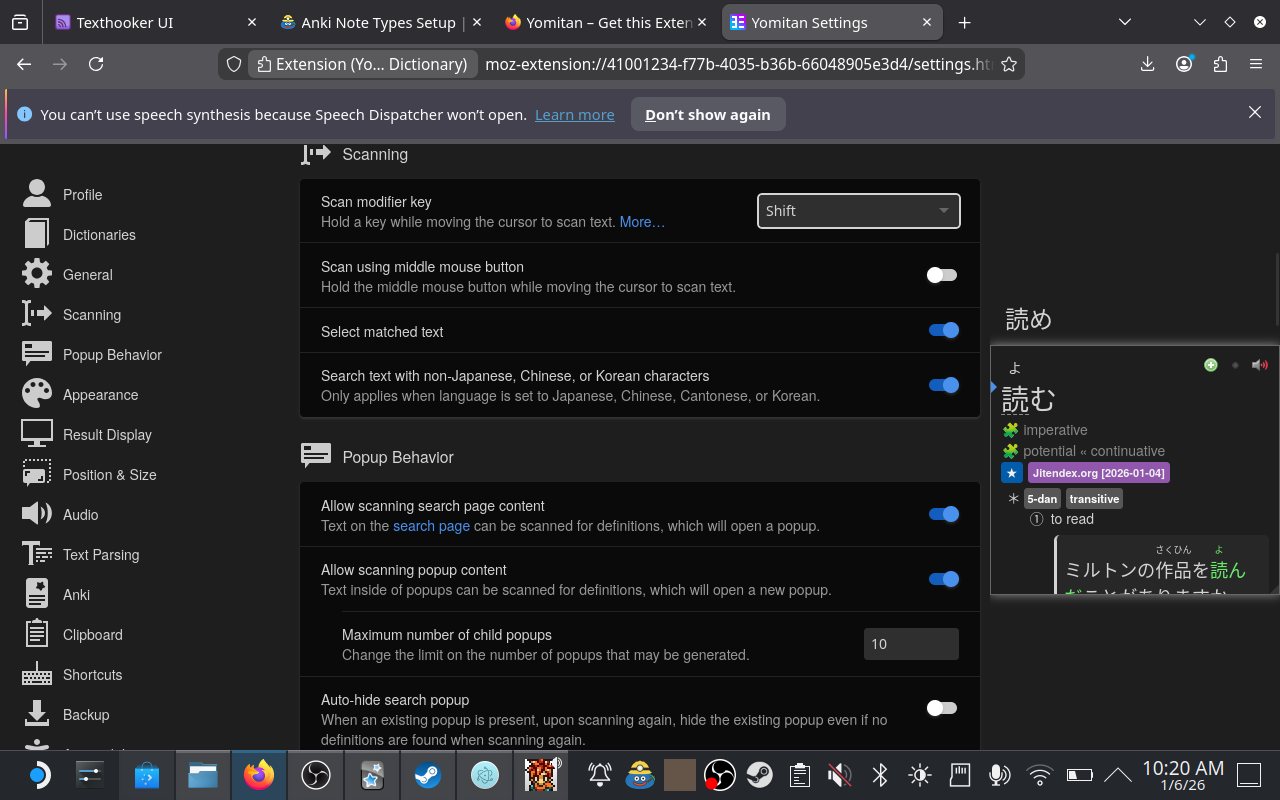
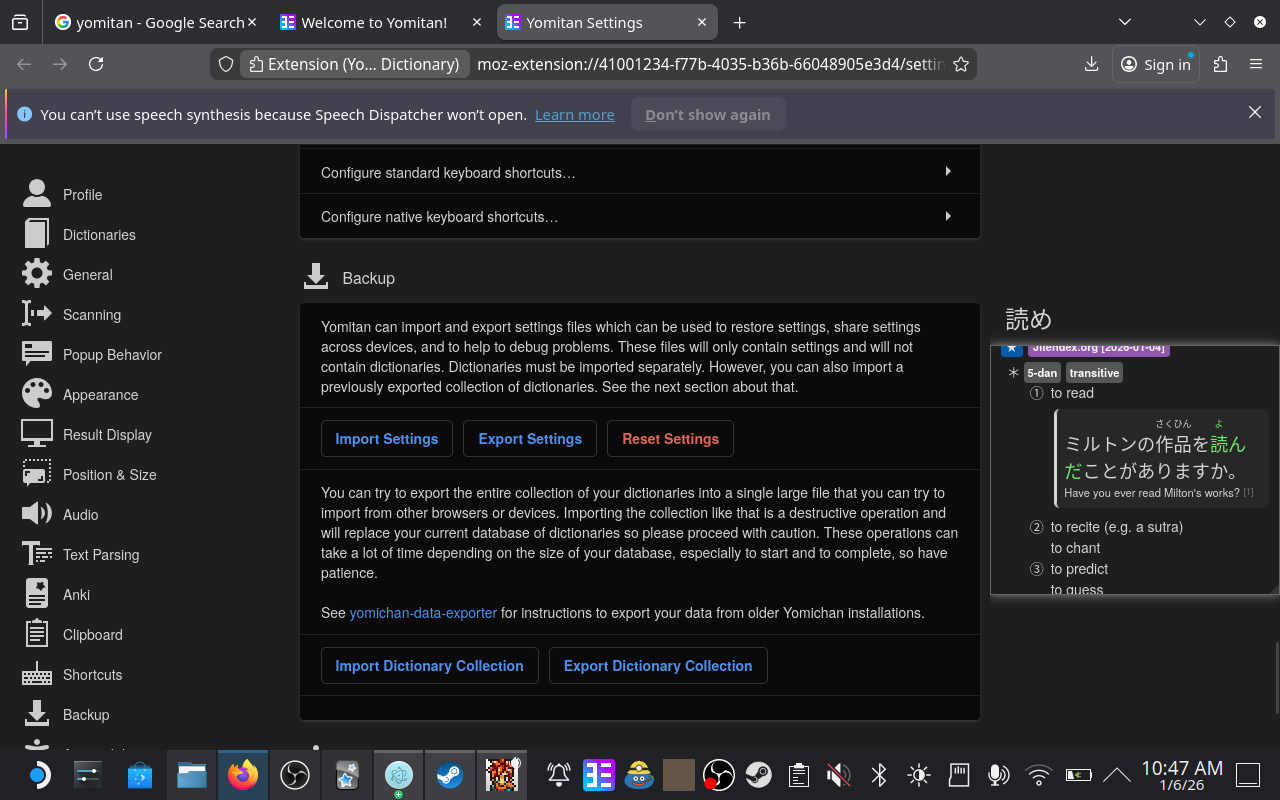
3. Setup OCR
With an OBS Scene and active capture setup, OCR should be as simple as it is on other platforms. Just set an area, start auto OCR, and you should be good to go.
In order to save the area, there is a right click menu on the area selection box with a "Save Area" option. The other types of area (exclusion, menu) can't be set up yet (silly mistake), but will be fixed in future releases.
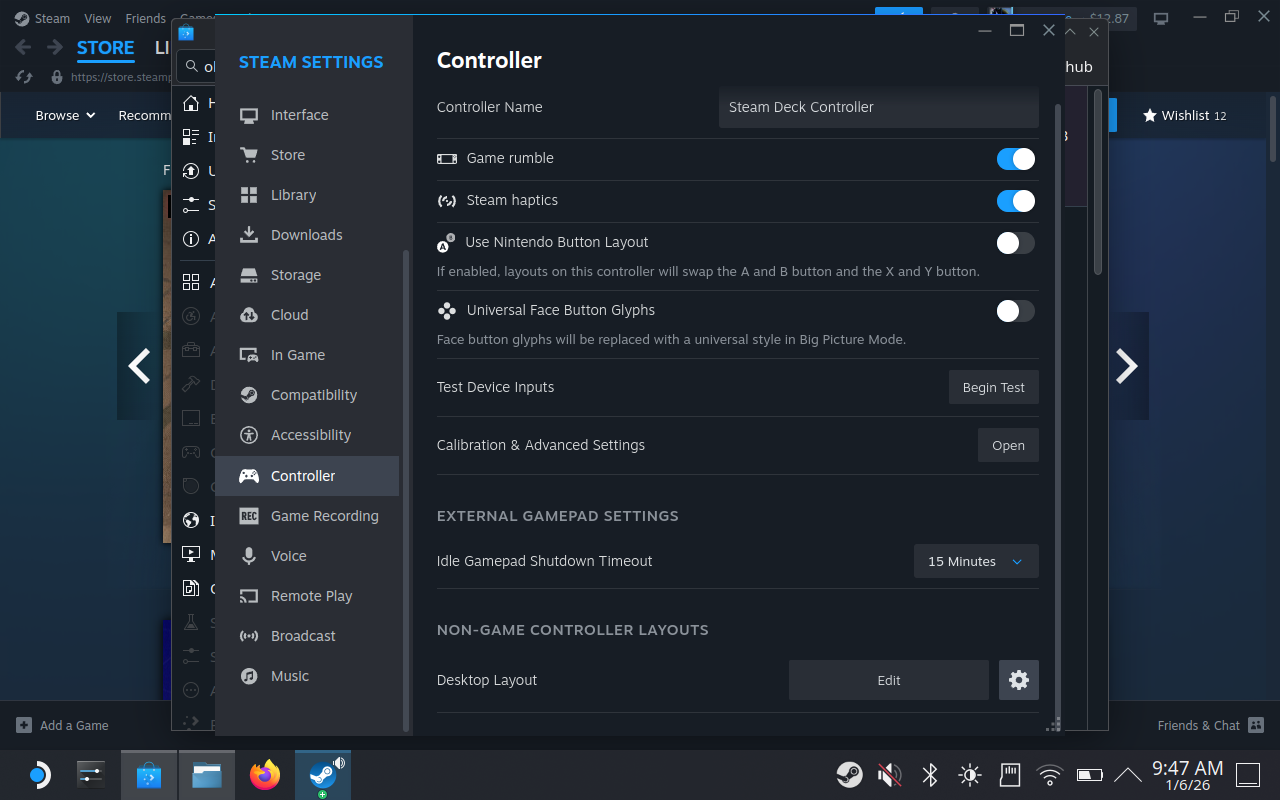
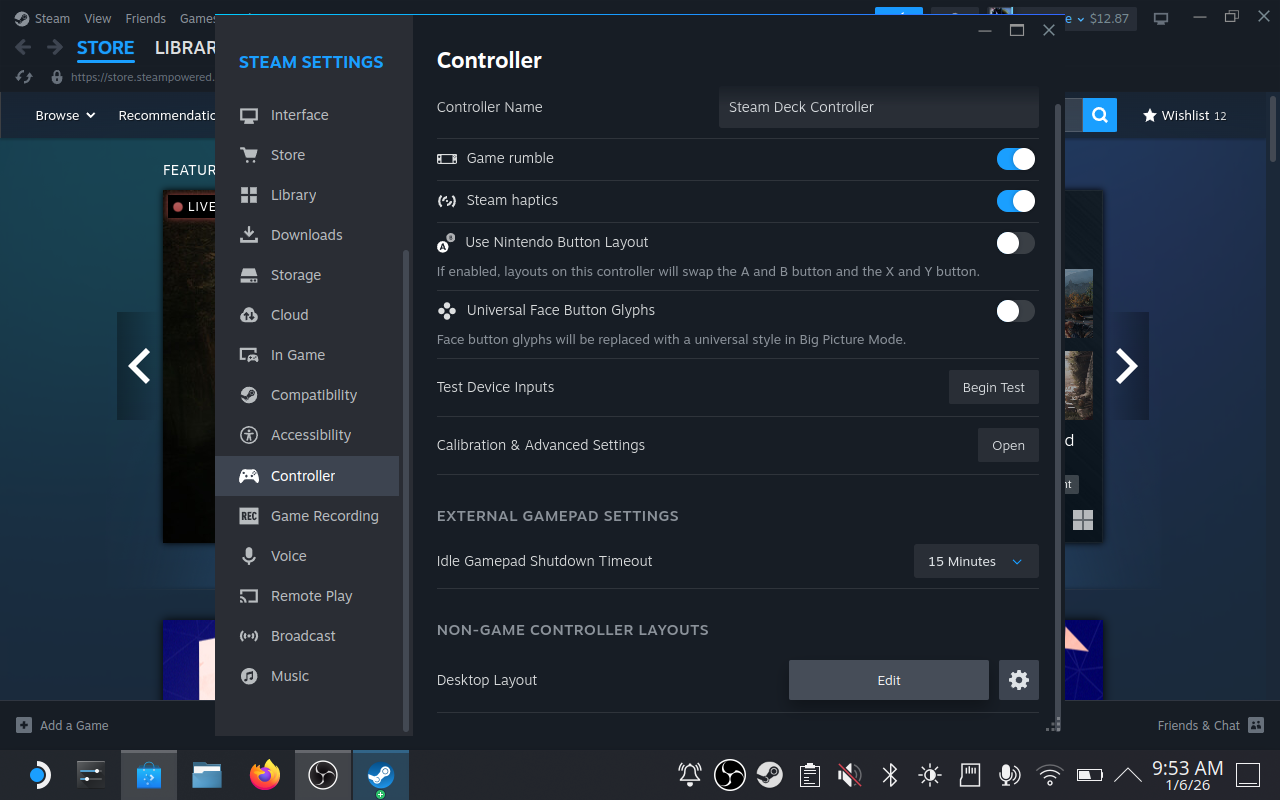
4. Controller Configuration
To make mining comfortable in Desktop Mode, you should map the necessary keys to your Steam Deck buttons.
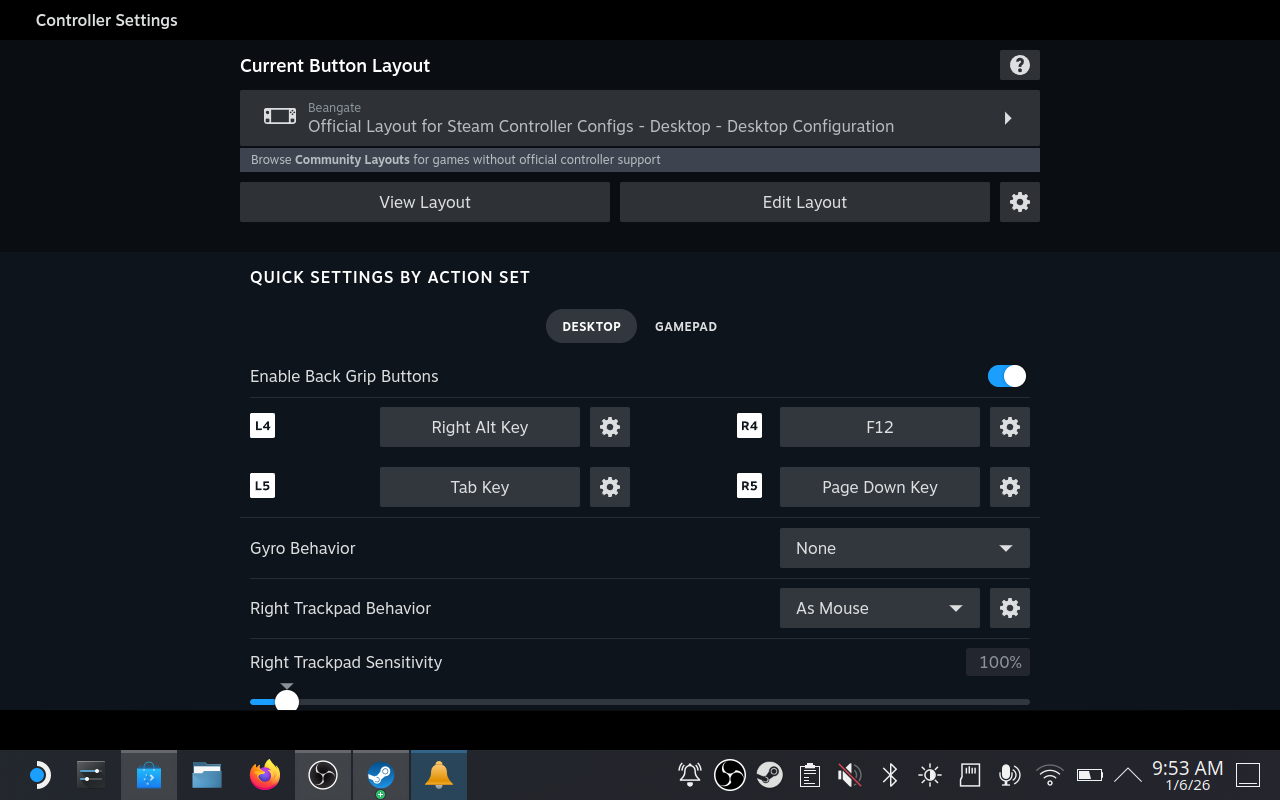
Recommended Bindings:
- Back Buttons (L4/L5/R4/R5): Map one to
Right Alt(VERY IMPORTANT THAT IT IS RIGHT ALT) and another toTab. This allows you to quickly switch between your game and Texthooker. - Trackpad: Set one trackpad as a Mouse so you can interact with the GSM overlay (if it works) or window.
You can configure these in Desktop Mode by pressing the Steam button > Controller Settings while the game is running.
5. Recommended Settings
In GSM, go to Settings and adjust the following for better performance on the Deck, to open GSM Settings, there is a button in the Home tab.
- VAD Settings:
Whisper Model:tiny- OR
Select VAD Model:Silero.
- General Settings:
Clipboard Enabled:OFF- Saves resources. Linux Clipboard compatibility is not great compared to Windows, and I recommend using websocket anyway.
- Features Settings:
Open Anki Note in Edit View:OFF- It's pretty distracting on Deck.
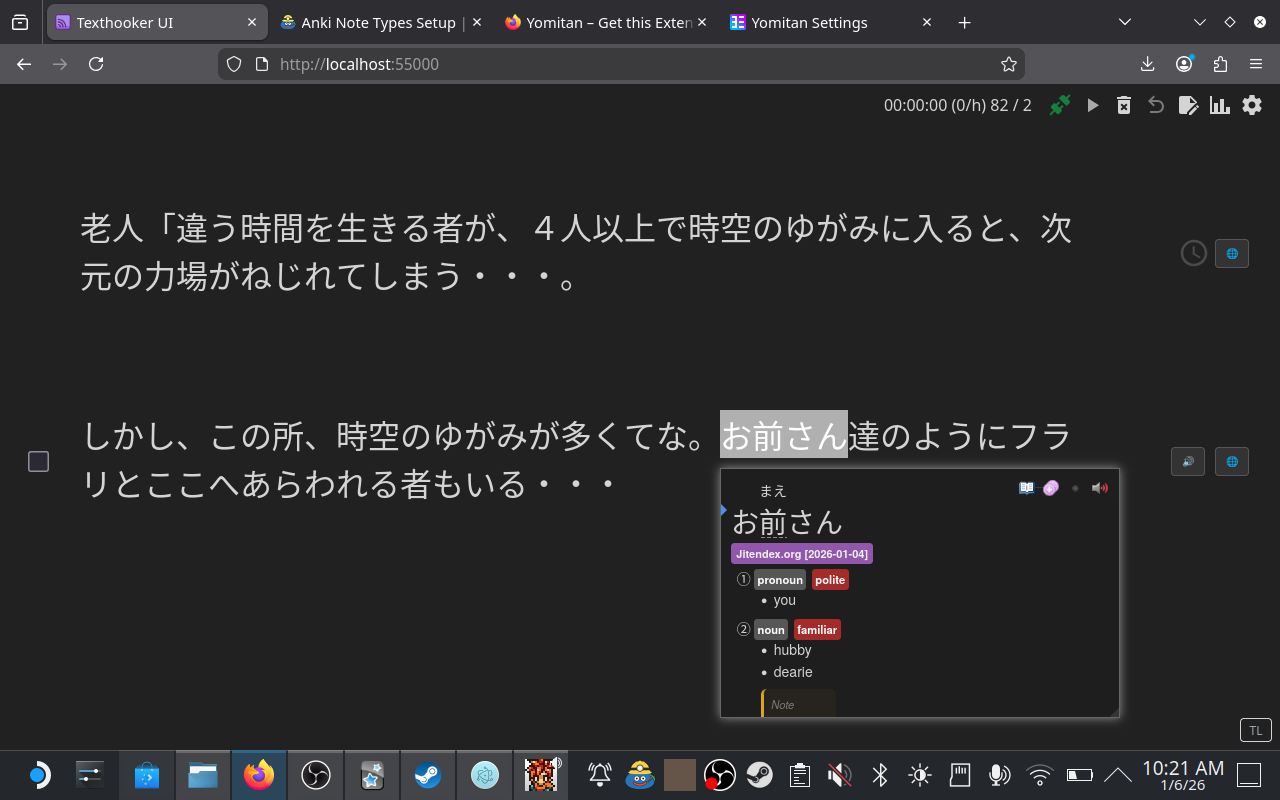
6. Put it all together
- Start GSM, OBS, Anki
- Launch your Game
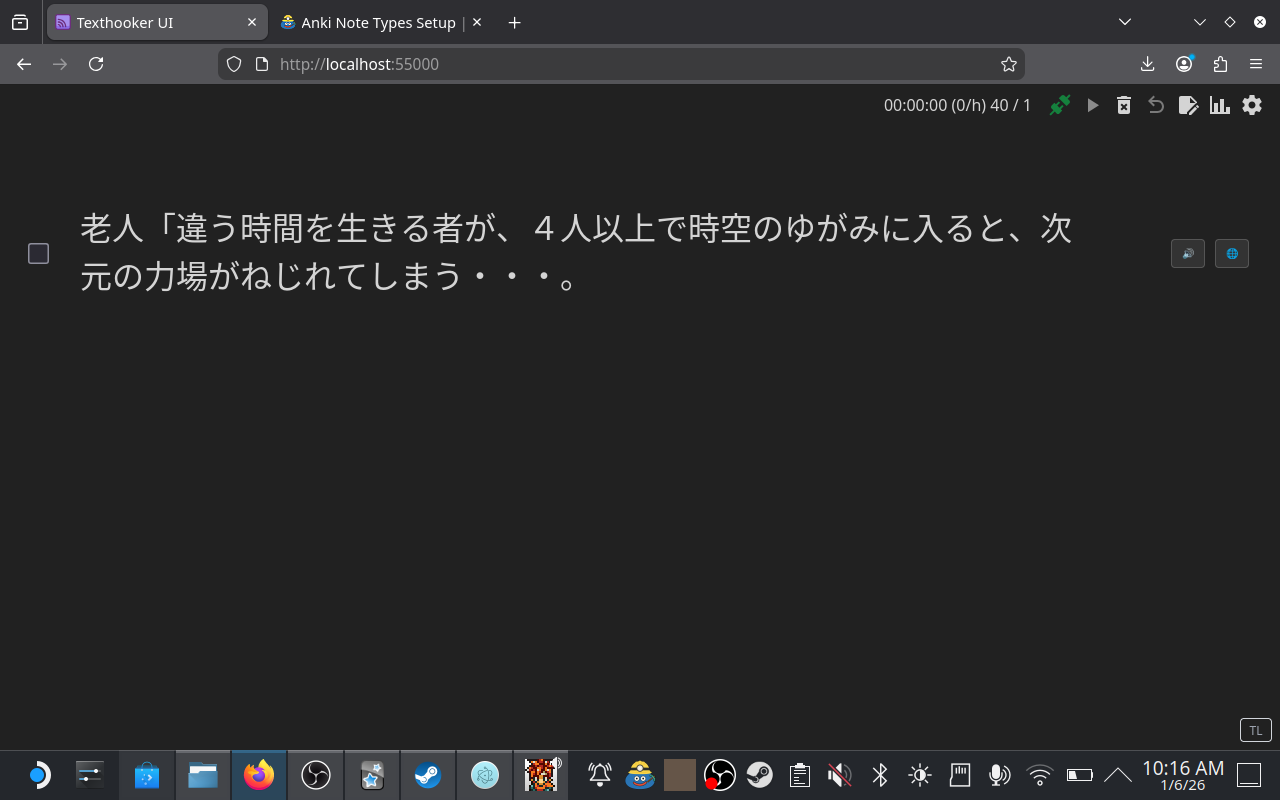
- Launch OCR/Texthooker
- Play normally, alt tab between game and texthooker as needed for lookups and mining.
- Overlay support is experimental on Deck, so may not work correctly.
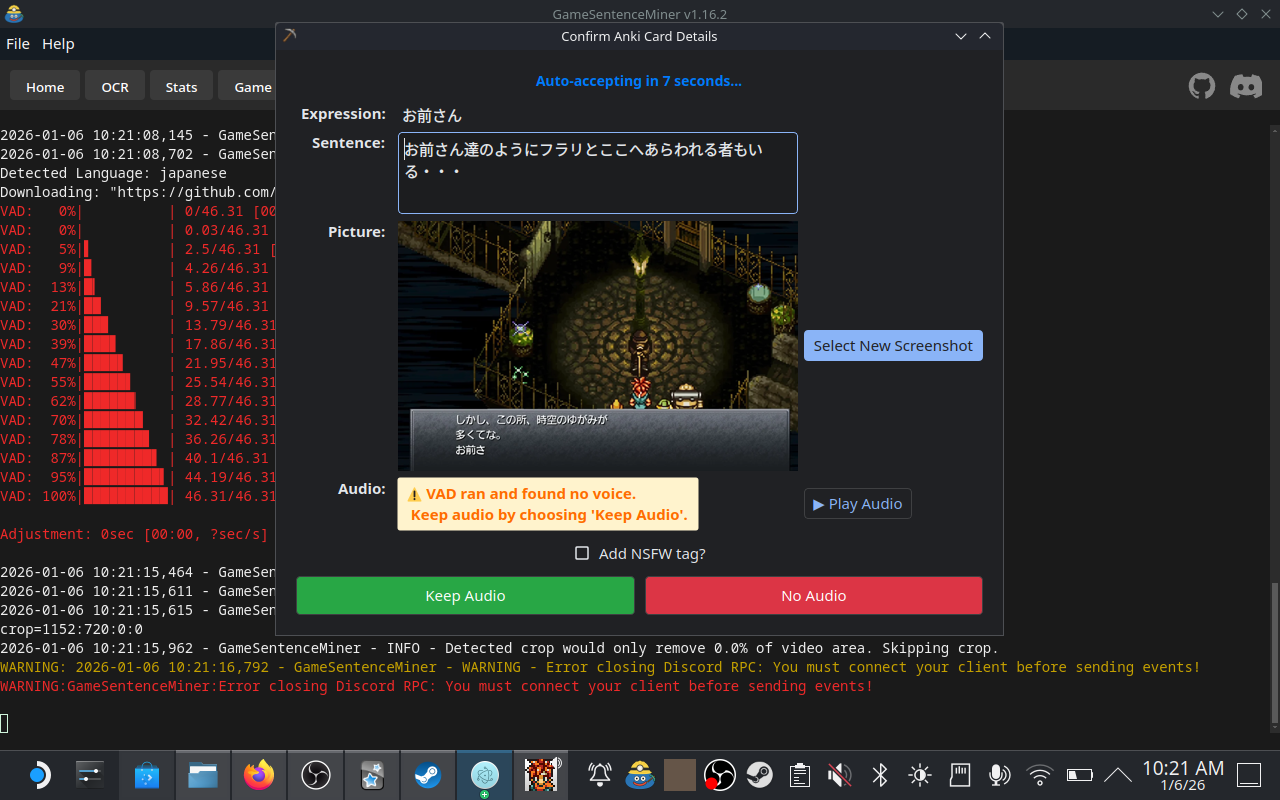
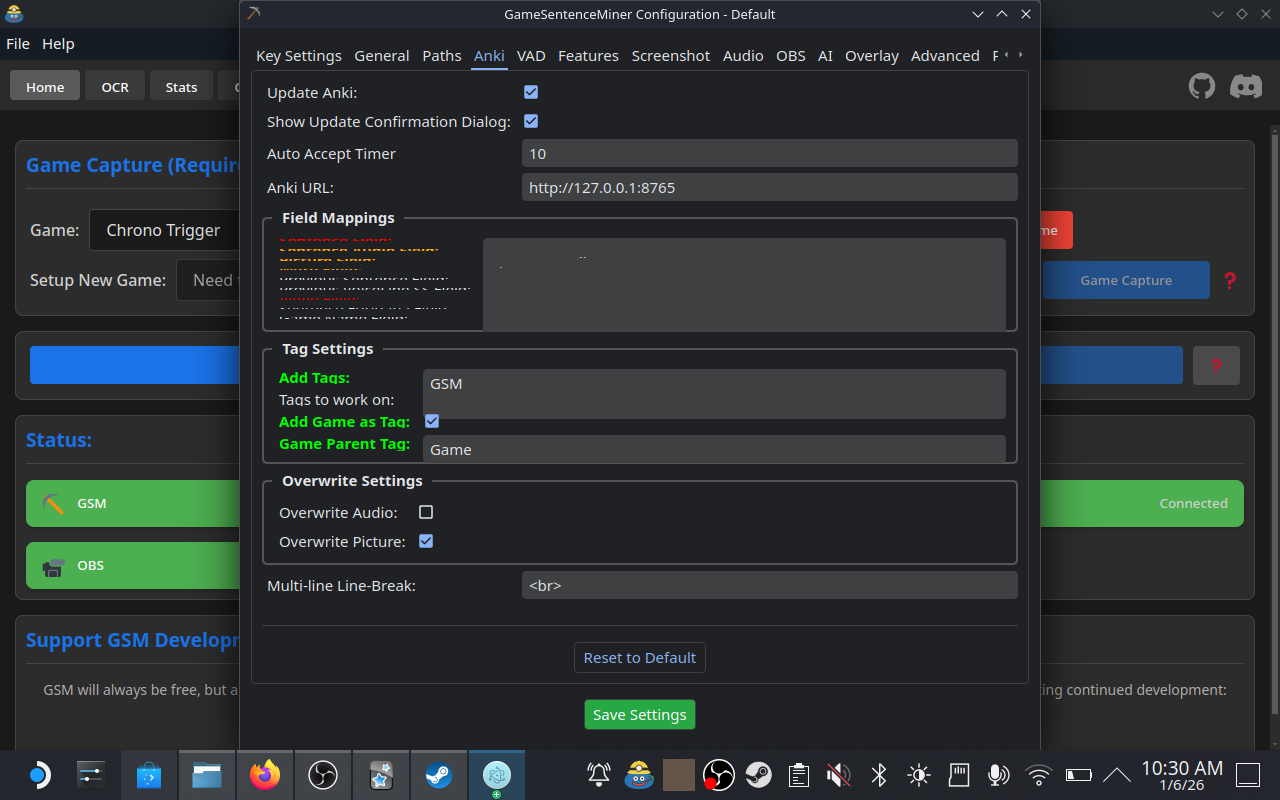
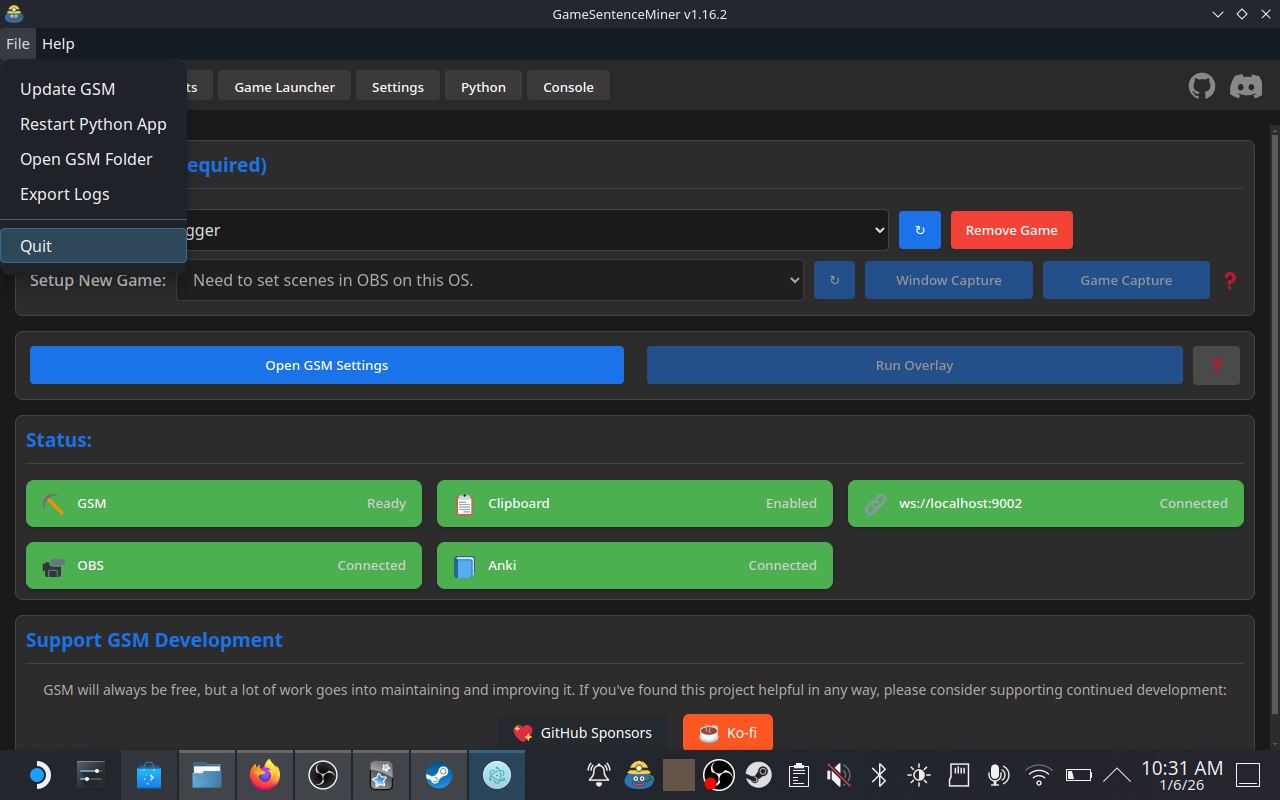
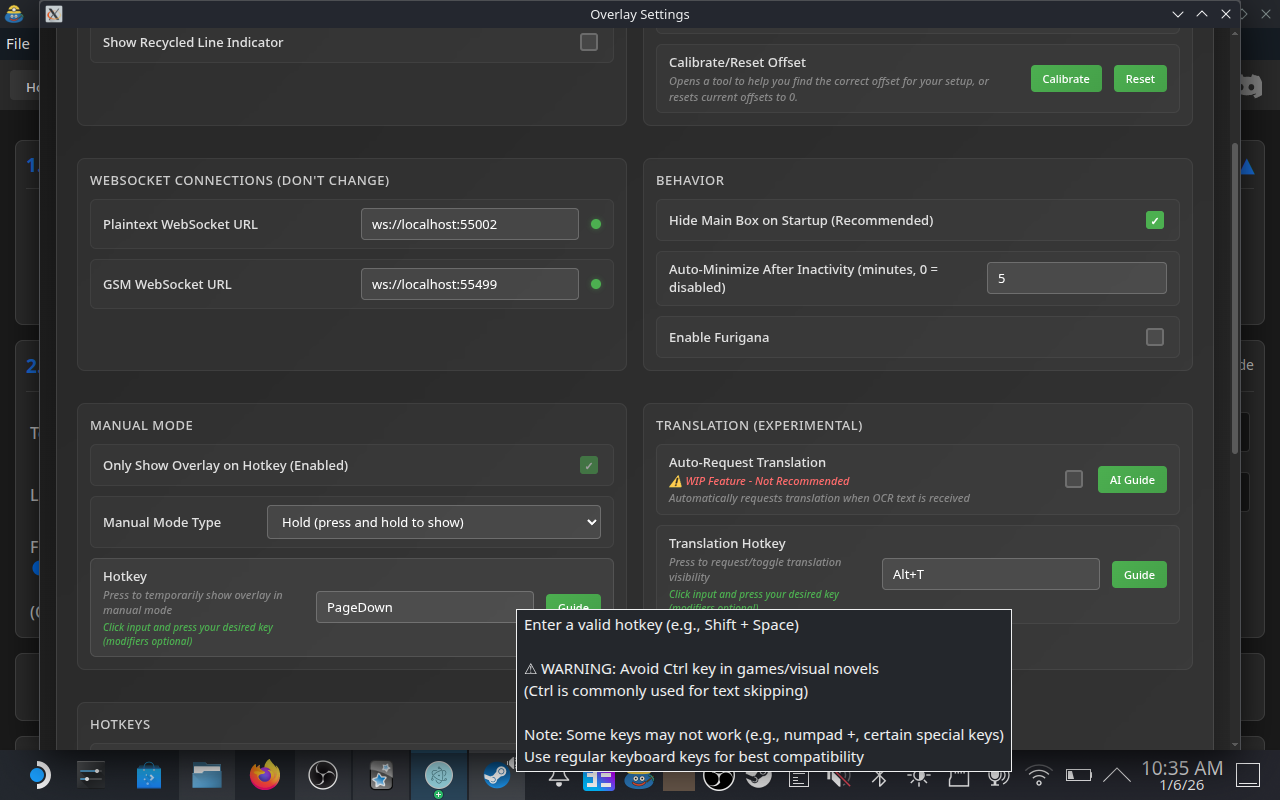
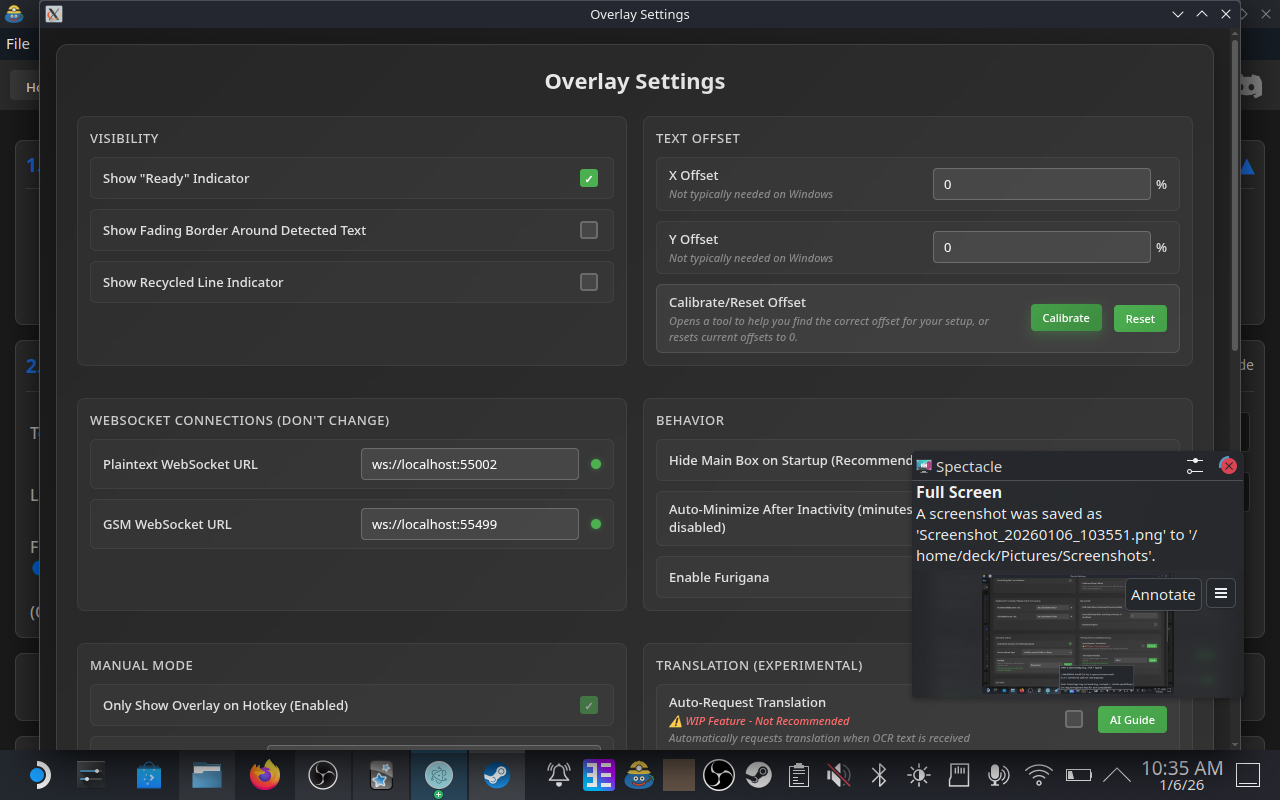
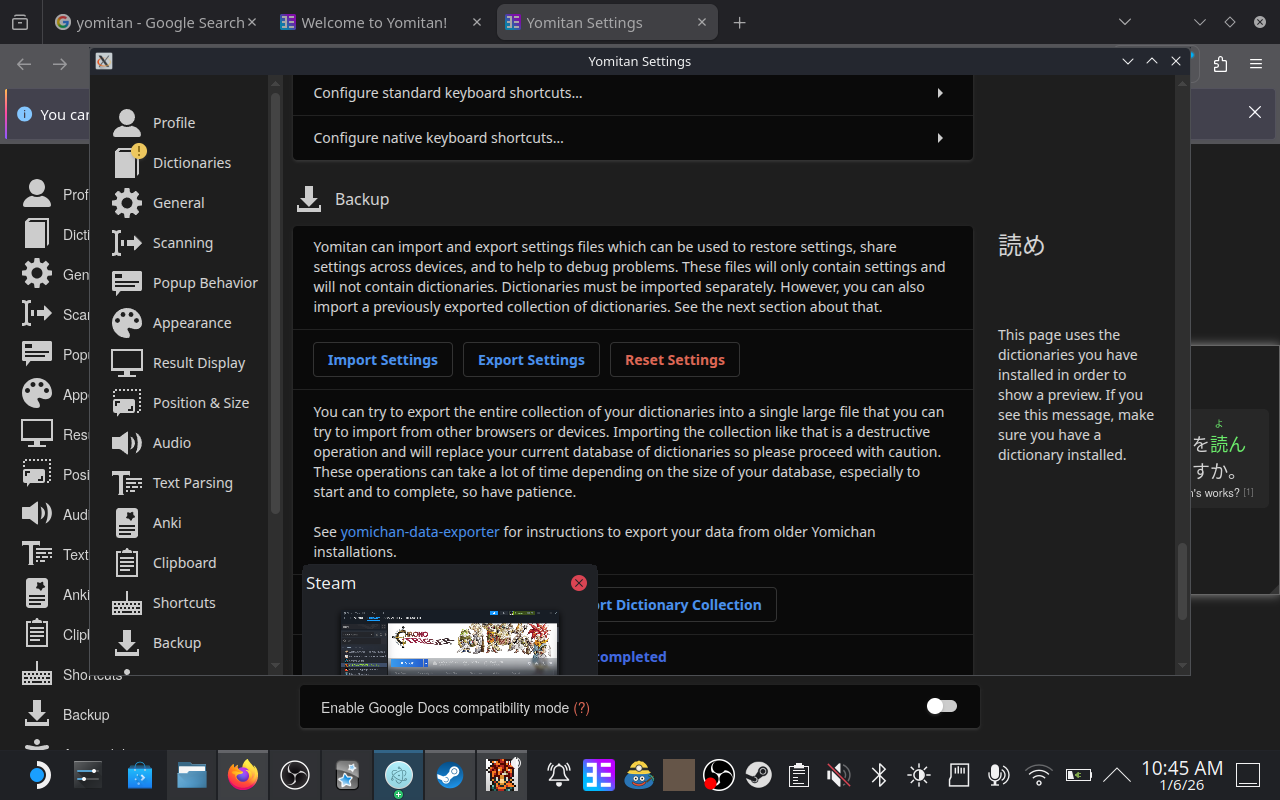
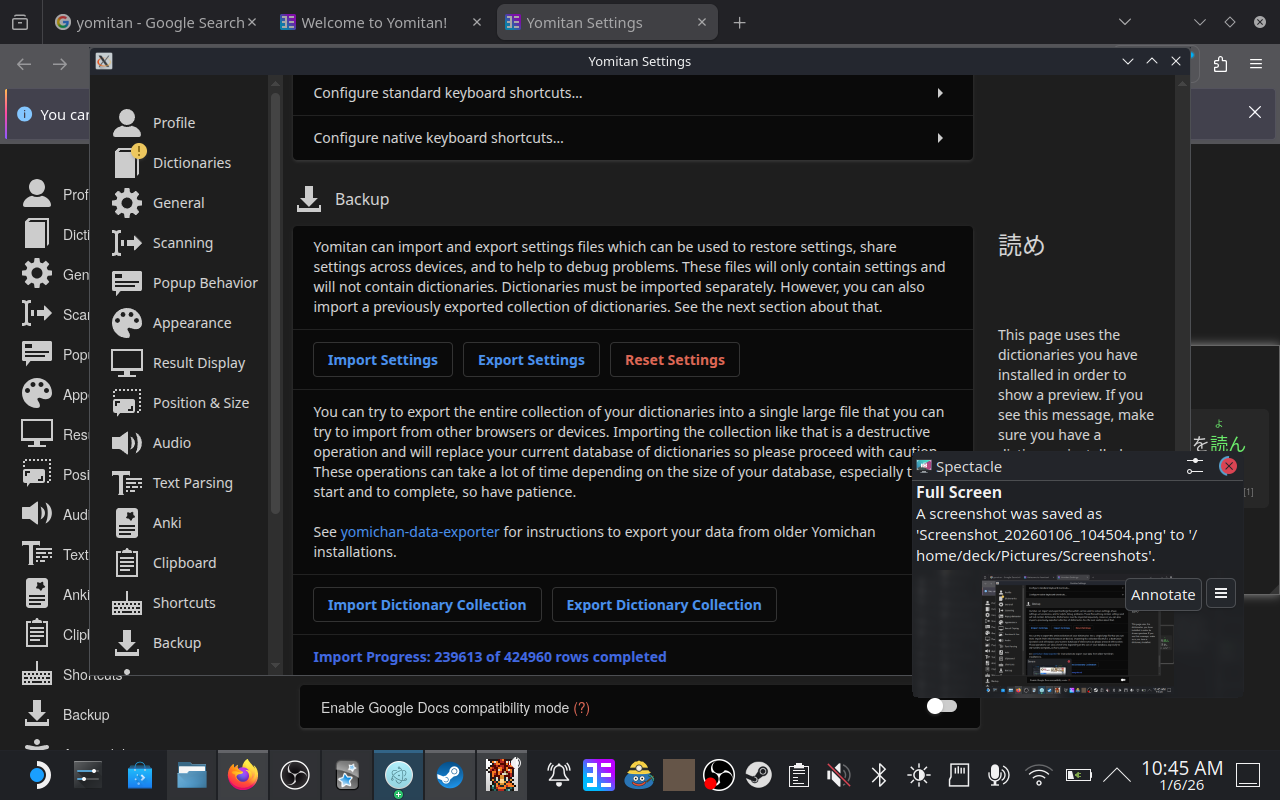
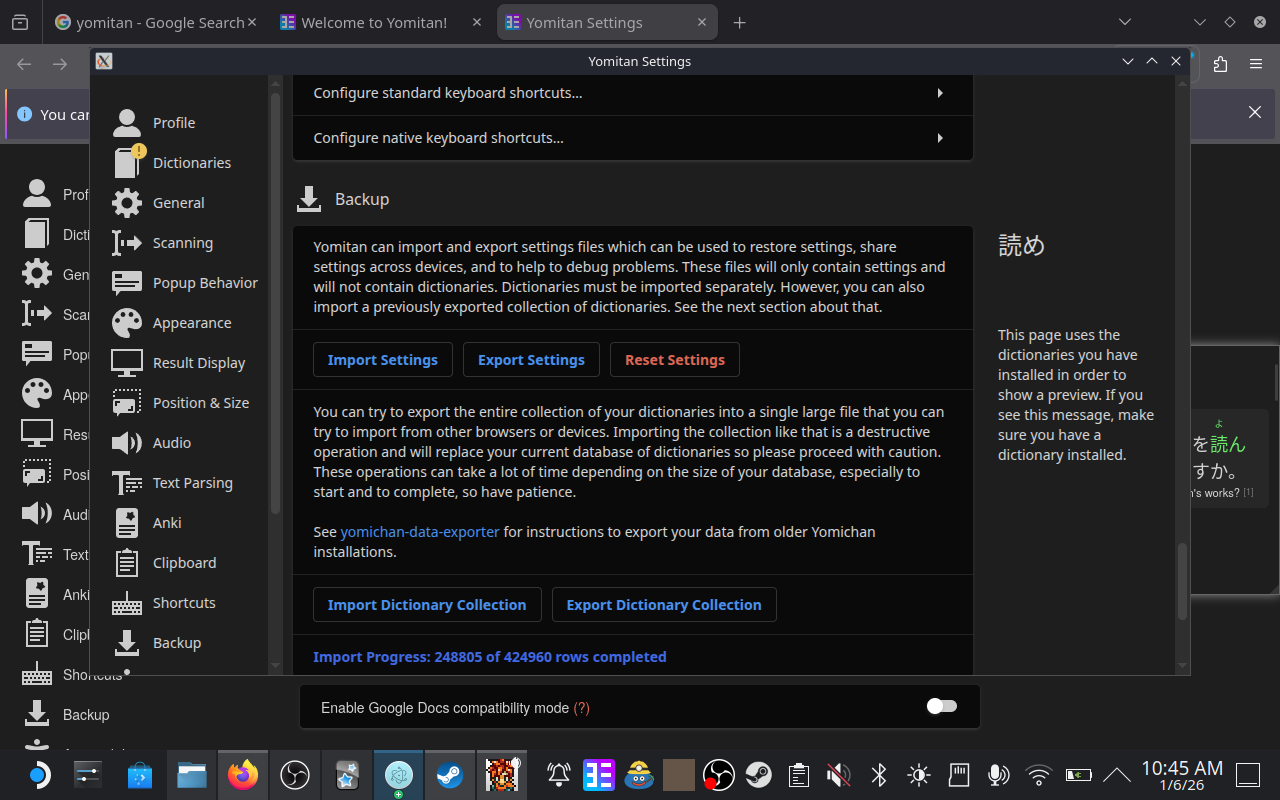
📸 Complete Installation Screenshots (Click to expand)
Below is a complete dump of screenshots taken during the installation process on Steam Deck for reference. These map help, but are not step-by-step instructions.


Streaming Setup
If you have a powerful desktop PC, streaming games to your Steam Deck via Apollo (Recommended over Sunshine for virtual display capabilities) -> Moonlight is often the best experience. It saves battery life on the Deck and allows you to use your PC's superior processing power for OCR.
Most of this setup is from memory, as I set it up a long time ago, so please forgive any minor inaccuracies. For the official guide (which I didn't know existed), look here: https://github.com/moonlight-stream/moonlight-docs/wiki/Setup-Guide
How it works
- Run GSM and the Game on your PC, not the Deck.
- Stream your Desktop to the Deck.
- Use the Steam Deck as a controller/screen.
Setup Steps
- On your PC: Install GSM and configure it as usual (see Windows Guide).
- Install Apollo and set it up.
- Optional If you have more than one monitor or want your exact resolution (1280x800): Configuration -> Audio/Video -> Advanced Display device options -> Device Configuration: Deactivate other displays and activate only the specified display.
- On Steam Deck:
- Go Into "Desktop Mode" (Steam Button > Power > Switch to Desktop).
- Install Moonlight (from Discover store) for the best performance (requires Apollo on PC).
- In Steam, add Moonlight as a non-Steam game.
- Go back to Gaming Mode (Steam Button > Power > Switch to Gaming Mode).
- Launch Moonlight from your Library -> Non-Steam.
- Select your PC running Apollo, and note the PIN displayed.
- Back on your PC:
- Enter the PIN on your PC to pair the devices.
- Allow Permissions for the selected devices to be able to start apps, and control with controller/mouse. (I just allow all).
Controls:
You might need to adjust some controls for better usability. I set this up a long time ago, so I don't remember all the details, but here are some tips:
- Map one of the Back Buttons (L4/L5/R4/R5) to
Right Altfor quick access to Texthooker. - Map another Back Button to
Tabto switch between windows. - I prefer using the right trackpad as a mouse, with the left trackpad for scrolling. Then I map the left trackpad click to left mouse button, and the right trackpad click to right mouse button.
- With these settings, I can easily interact with the GSM overlay or Anki while gaming.
And that's it, now you can open moonlight on your steamdeck, launch Virtual Desktop, game, and mine!
Optional: Streaming over the internet
You can also stream away from your home network, for a more detailed guide, see: https://github.com/moonlight-stream/moonlight-docs/wiki/Setup-Guide#streaming-over-the-internet
I personally Port Foward, but this is not recommended for most users.